Baking Maps
Introduction
You have the ability to bake various maps in TopoGun using the Bake Maps feature. You can bake normalmaps, displacement maps, hardware ambient occlusion maps, software ambient occlusion maps, color maps (texture transfer, vertex colors, group colors and masking values), curvature maps, transmission maps and cavity maps.
In order to use the Bake Maps feature, you should have a highpoly model (the reference mesh) and a lowpoly mesh (created in TopoGun or in any other application). Note that the lowpoly mesh should have a valid UV mapping and should consist of triangles and/or quad faces.
Before going forward, you should have at least a minimal knowledge of normal mapping techniques and you should understand some of the basics of baking maps. You can easily find tutorials on these topics on the Internet.
In order to bake a map, you should have the target lowpoly mesh selected. Then, open the Bake Maps View, from the View menu.
General Settings
Start by loading the high resolution reference mesh (Load Reference Mesh in the File menu) and then the lowpoly retopologized mesh (Load Mesh in the File menu). Note that after loading the lowpoly mesh, you can only modify the topology by moving the vertices of the lowpoly cage. You must not modify the topology by adding or deleting geometry. If you do so, the geometry's UV's will become invalid and you won't be able to bake your maps, or if you do, the baked maps could contain errors.
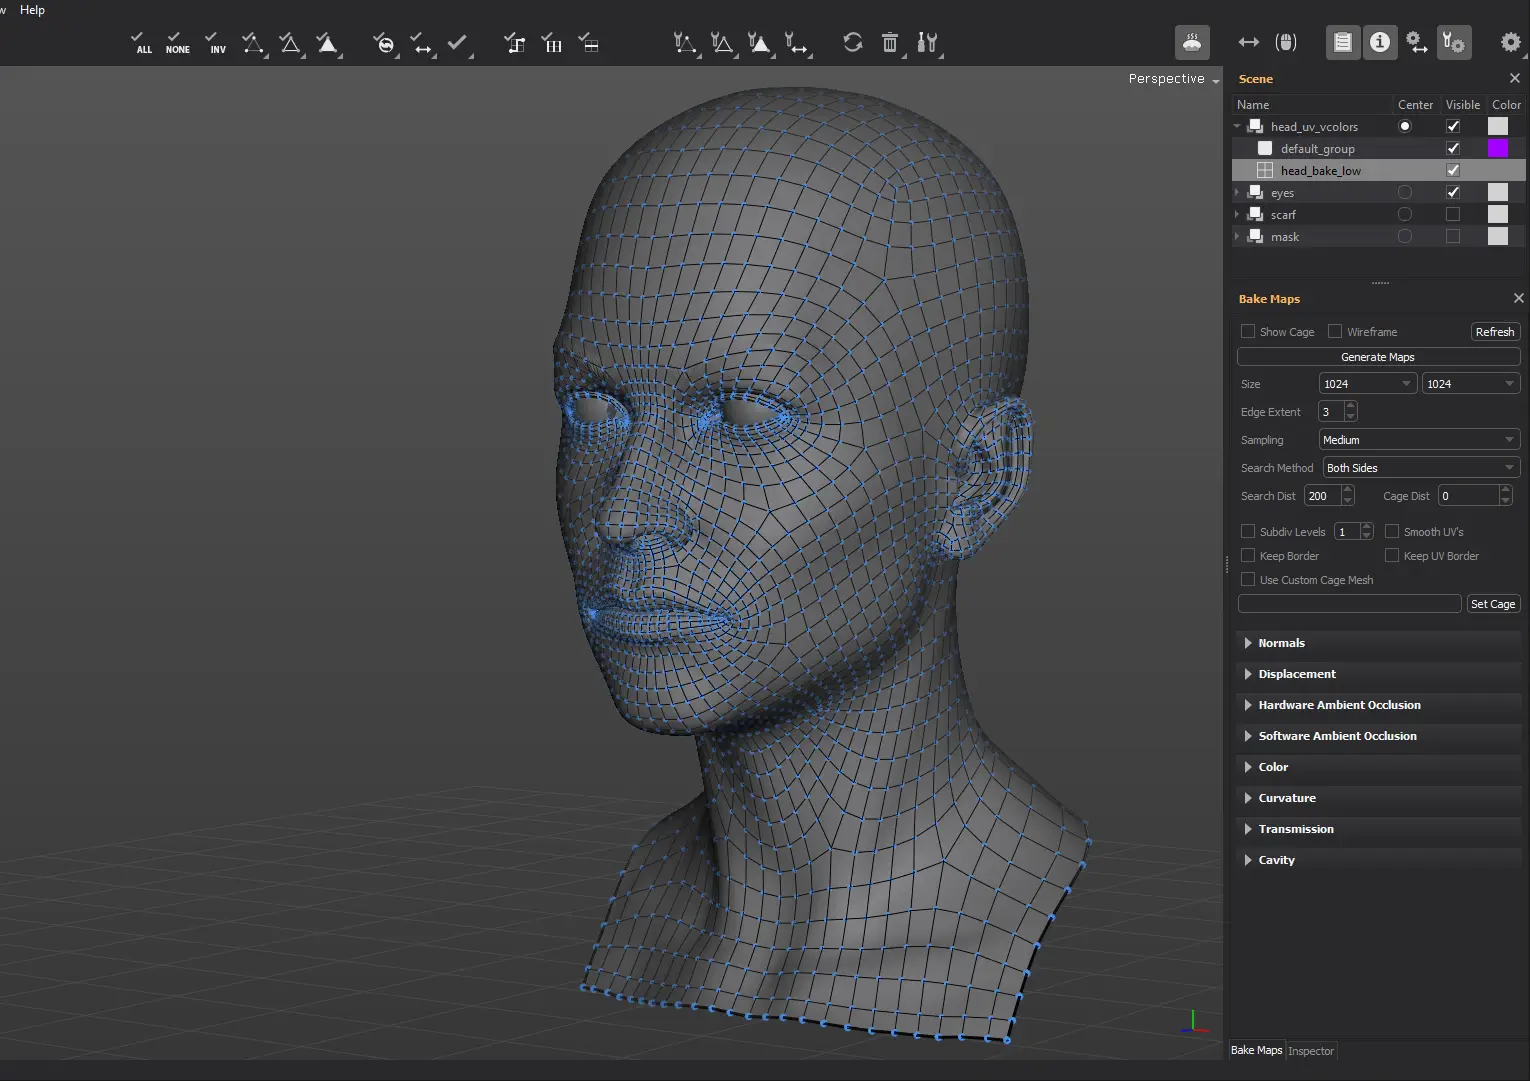
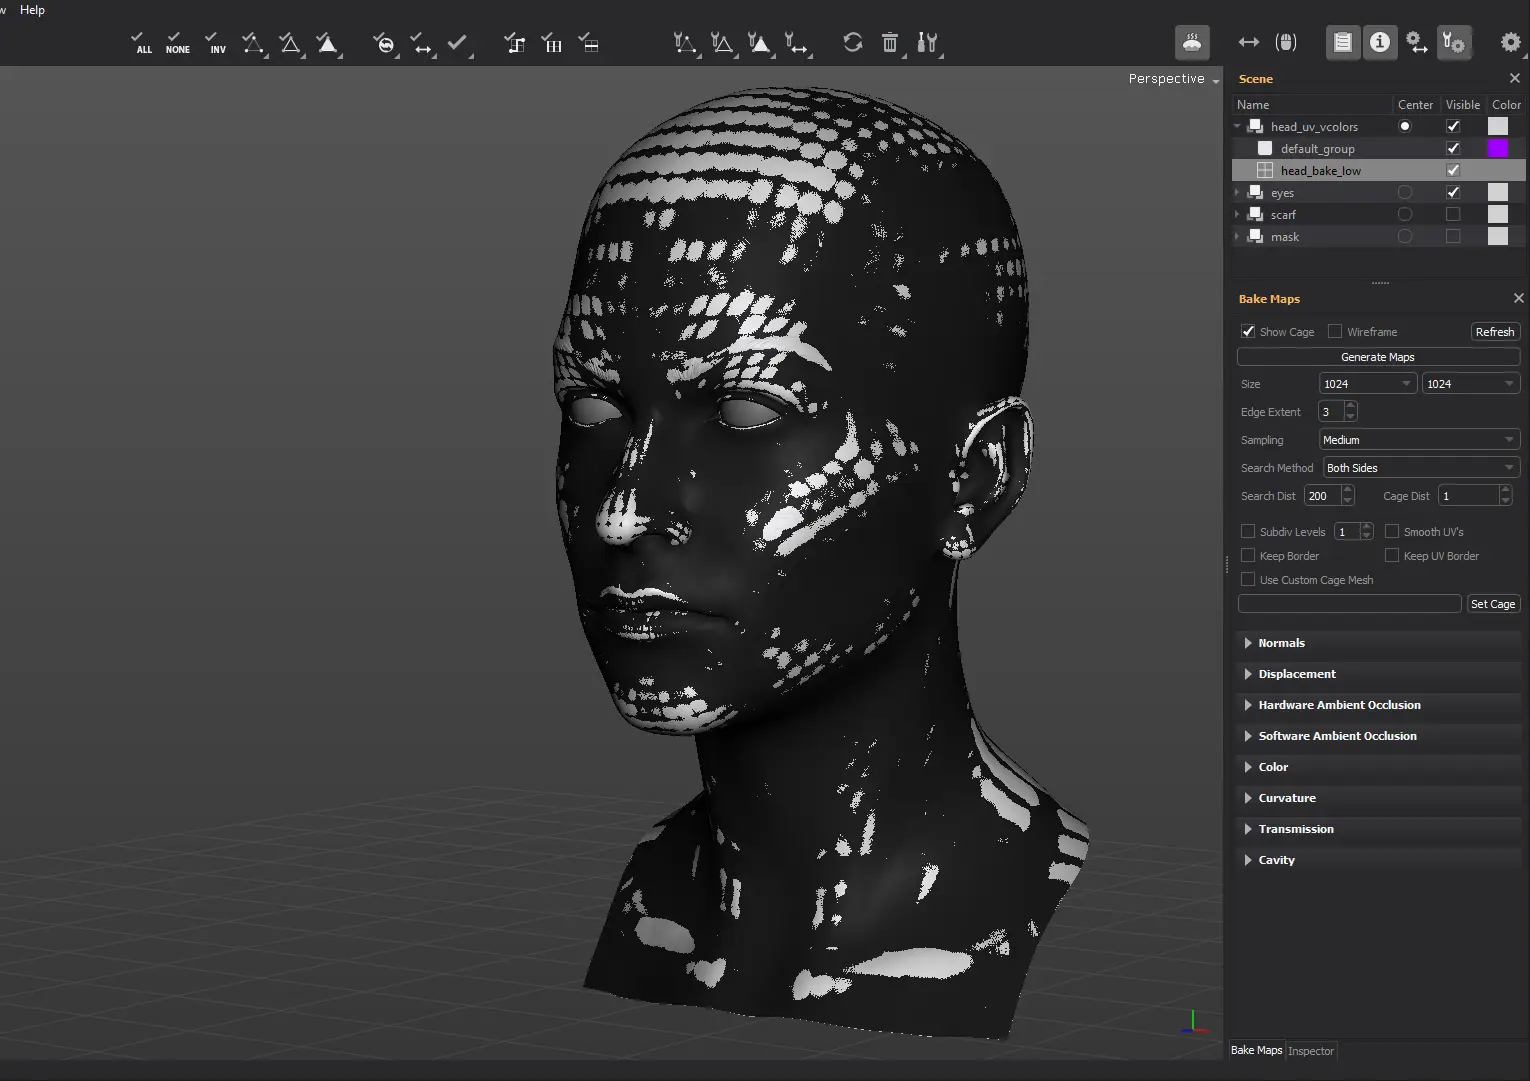
Next, enable the Show Cage option in the Bake Maps View. Notice that a duplicate black version of your lowpoly is rendered in the viewport. The black mesh is called the baking cage, and is generated from the mesh geometry.
You can edit the cage mesh options in the Preferences window, the Bake section (open it from the Edit menu).
Next, set the baked maps resolution, by changing the size values (width and height). A value of 1024 X 1024 is a good starting point, in order to speed the baking process until you get the desired results.
Choose between one of the raycasting sampling quality presets from the Sampling drop down list (Medium should be just fine in most cases, setting it to High could be a waste of time).
The pixel values along seam edges are expanded by a distance equal to the Edge Extent value. This is in order to avoid future rendering issues like texture seams appearing at render time, due to the various sampling methods (such as mipmapping).
The Search Dist limits the raycasting search distance, in order to maximize the baking speed. Setting a too low Search Dist value could cause empty pixels on the rendered maps because the fired rays won't reach the highres reference model. If the Search Dist is set to 0 (zero), then the distance is set to infinite.
The cage mesh's vertices are shifted along their normals by a distance equal to the Cage Dist value. This is done in order to optimize the baking process (the reference mesh might have overlaying geometry layers and leaving the Cage Dist parameter set to zero could create a lot of problems in the baking process). This is due to the fact that the lowpoly cage would intersect in different areas of the highresh geometry layers at a time. Setting this parameter to a non-zero value helps the baking module "see" the highpoly mesh from a certain distance, avoiding the possible confusion that would have arisen if the highres areas are "seen" from too close.
Remember that the reference mesh is normalized during import (it's scaled down so it can fit into a cube unit). The Search Dist and Cage Dist parameters are given in TopoGun 1/1000 units.
The raycasting can be done Both Sides (TopoGun fires intersecting rays along both sides of the cage mesh normals), Inside Cage or Outside Cage (fires intersection rays inside the cage mesh or outside - along the direction of the normals).
If you want to generate displacement maps, you should check the Subdiv Levels option and set a bigger than 1 value for this parameter (usually 2-3). That will subdivide and smooth the cage mesh, in order to get a valid usable displacement map. Displacement maps are usually applied over a subdivided version of the lowpoly cage, at render time. That is why the displacement should be created somewhere between the subdivided cage and the reference mesh. Depending on your render engine settings when dealing with displacement maps, set the Smooth UV's, Keep Border and Keep UV Border parameters accordingly.
By default, TopoGun smooths out the normals of the cage mesh (there are no hard edges). However, sometimes you could use some hard edges. In order to have more control over the direction of the normals, and thus the directions the baking rays are fired to, you should use a custom cage. A custom cage is a mesh that is loaded directly from an external file, not from the existing scene geometry. The main difference is that the custom mesh can have custom normals (as a result the normals are not smoothed when loaded by the baking module). In case you want to use a custom cage, first set the cage file (press Set Cage to open a opening file dialog), then enable the Use Custom Cage Mesh option.
Below the General Settings area, there is a dropdown panel for each type of map you can bake in TopoGun. To enable baking for any of these maps, open the corresponding panel,then enable the Generate option and finally set the output file path by pressing the Set File button or directly writing the path in the input field next to it.
Keep in mind that you can bake multiple maps at a time in TopoGun. This speeds up the process considerably.
Normals
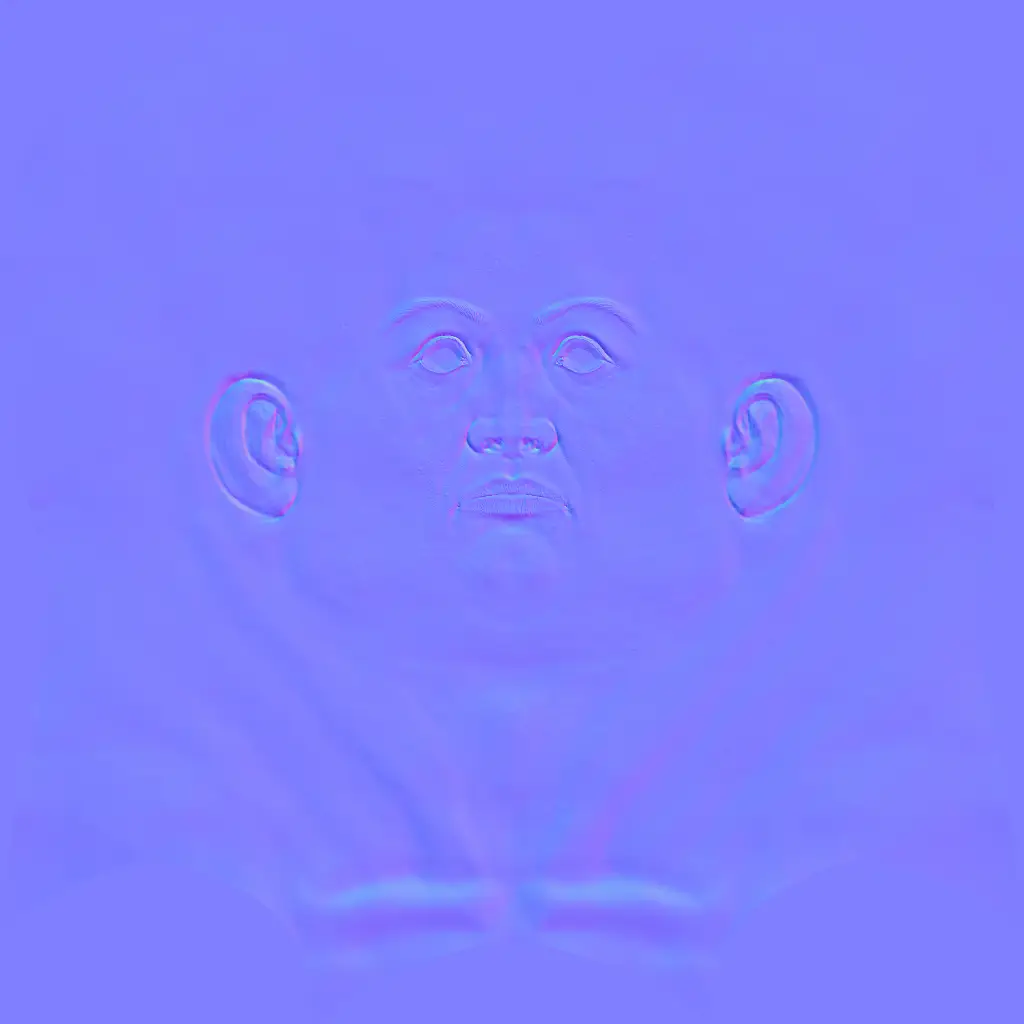
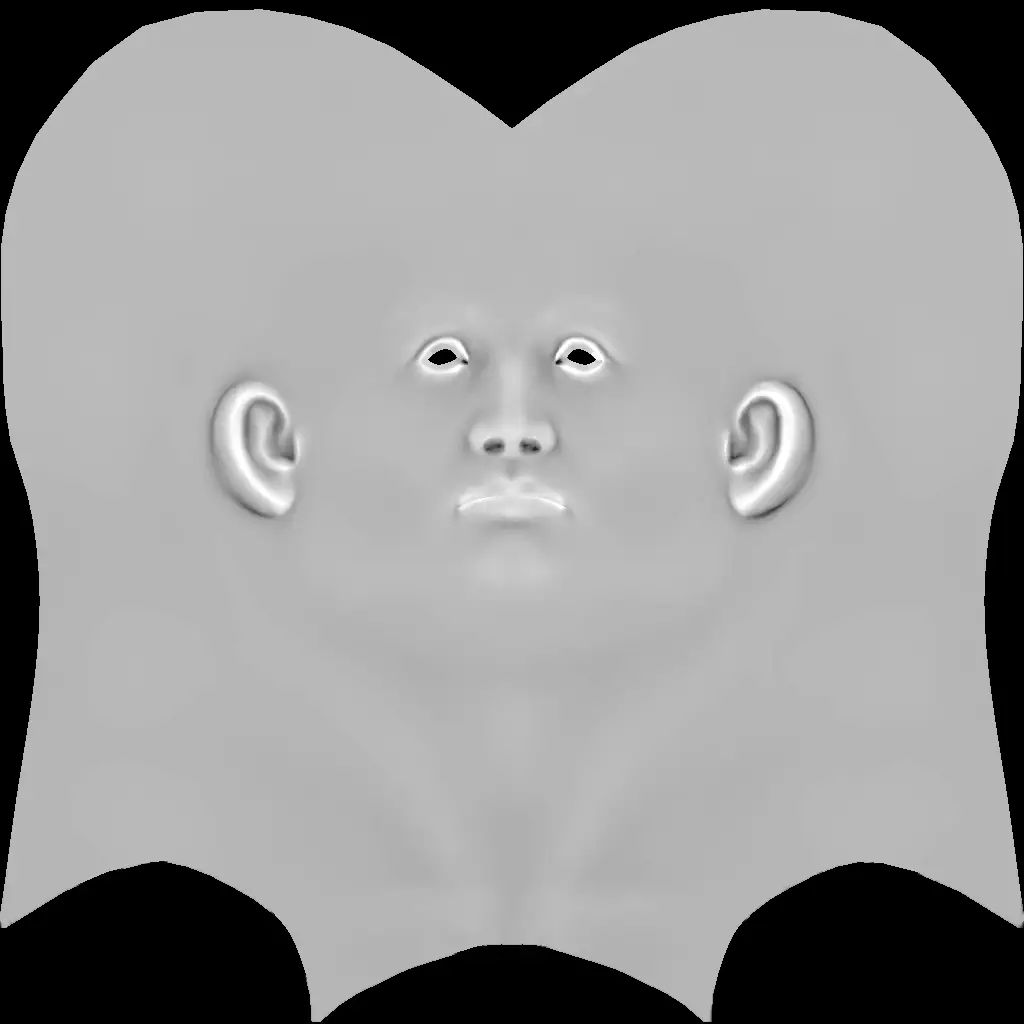
In order to bake a normalmap, enable the Generate checkbox found in the Normals options group. You can choose between a variety of engine specific options within the normalmap's options group. The parameters names are pretty self explanatory: The Flip Red Channel and the Flip Green Channel options will invert the normalmap's red and/or green channels. The Swap Red-Green option will interchange the red and green channels data. You can choose between generating a Tangent Space normalmap (used for skinned/deformable objects) or a World Space normalmap (used for static objects).
Displacement
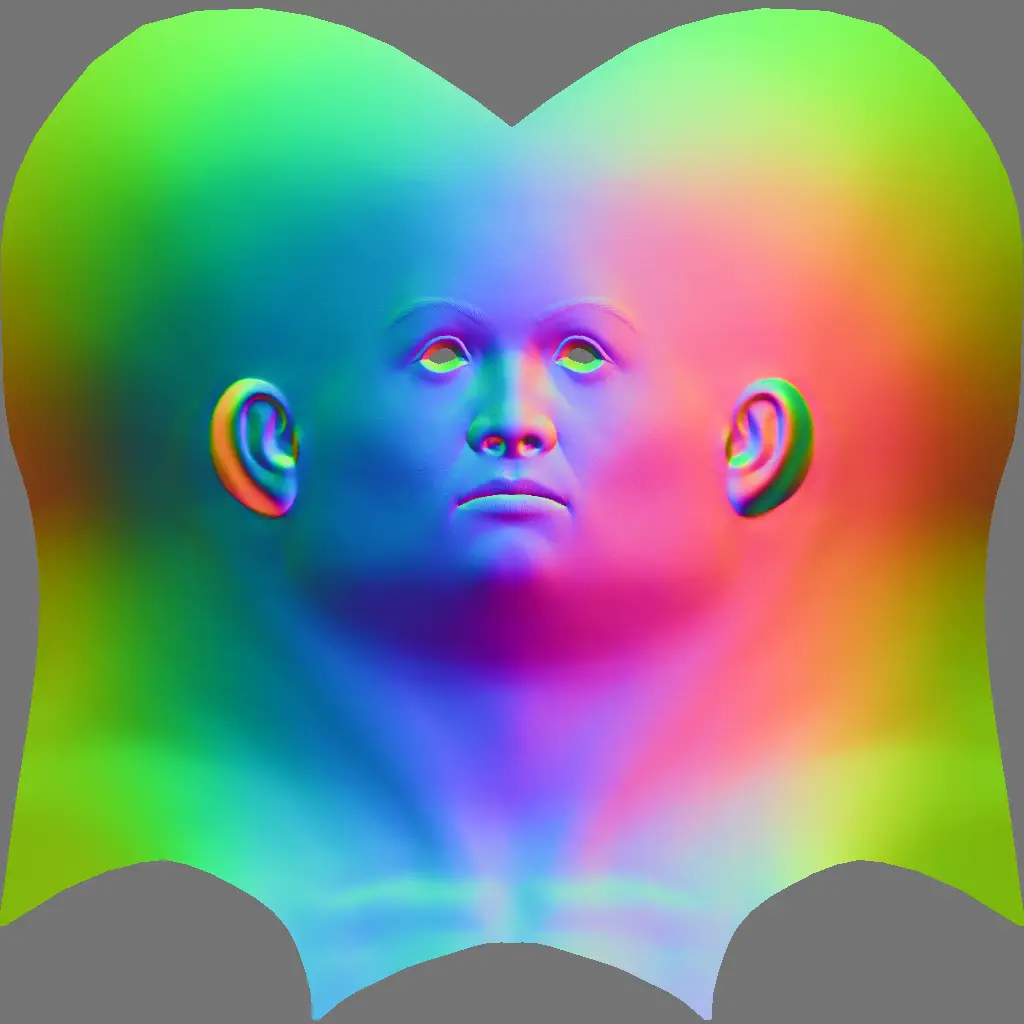
In order to bake a displacement map, enable the Generate checkbox found in the Displacement options group. You can choose between generating 8 bit displacement maps (256 possible height values) or 32 bit floating point world space displacement maps.
After the map is generated, the Displacement and Offset values are automatically filled.
You should use these values in order to correctly set the rendering parameters in your displacement rendering engine.
If you bake a 32 bit floating point displacement map, you should first convert the resulting .tiff file to a 32 bit floating point image format supported by your rendering engine, if it doesn't recognize 32 bit floating point .tiff images. Then you should simply plug the displacement file into the displacement shader and set the displacement value to 1.0. You will get real world displacement values. If you scale the rendered object, you should scale the displacement amount value accordingly.
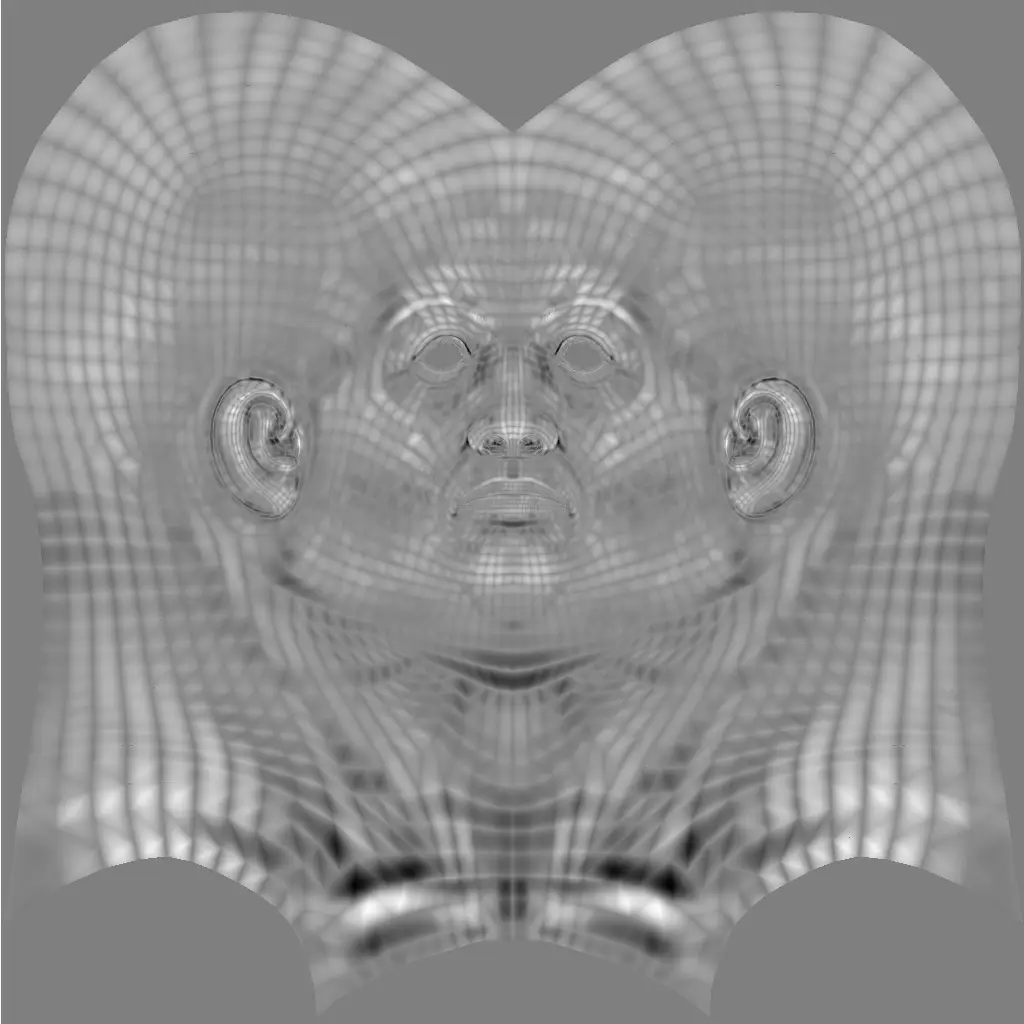
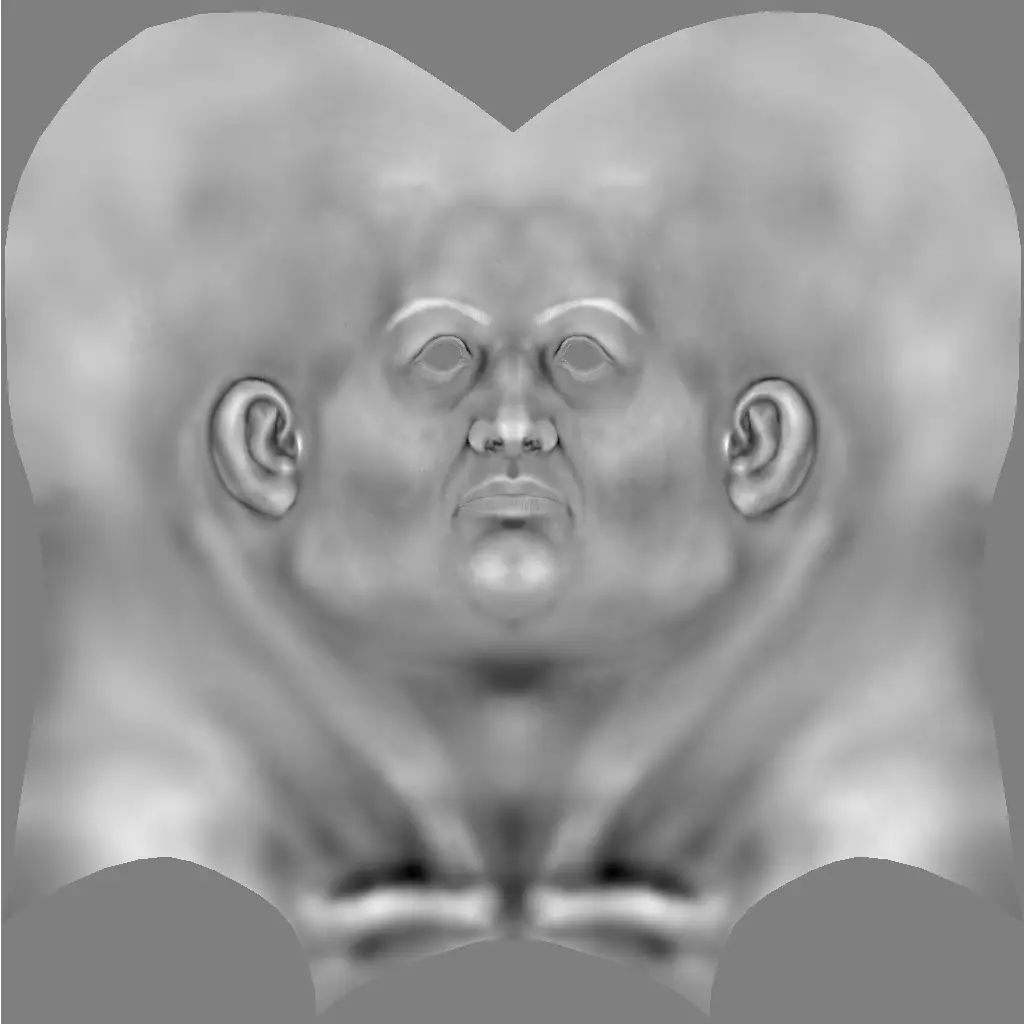
You should enable the Subdivide Levels option in the General Settings group and set a non unitar value for the subdivision levels number (something like 2 or 3).
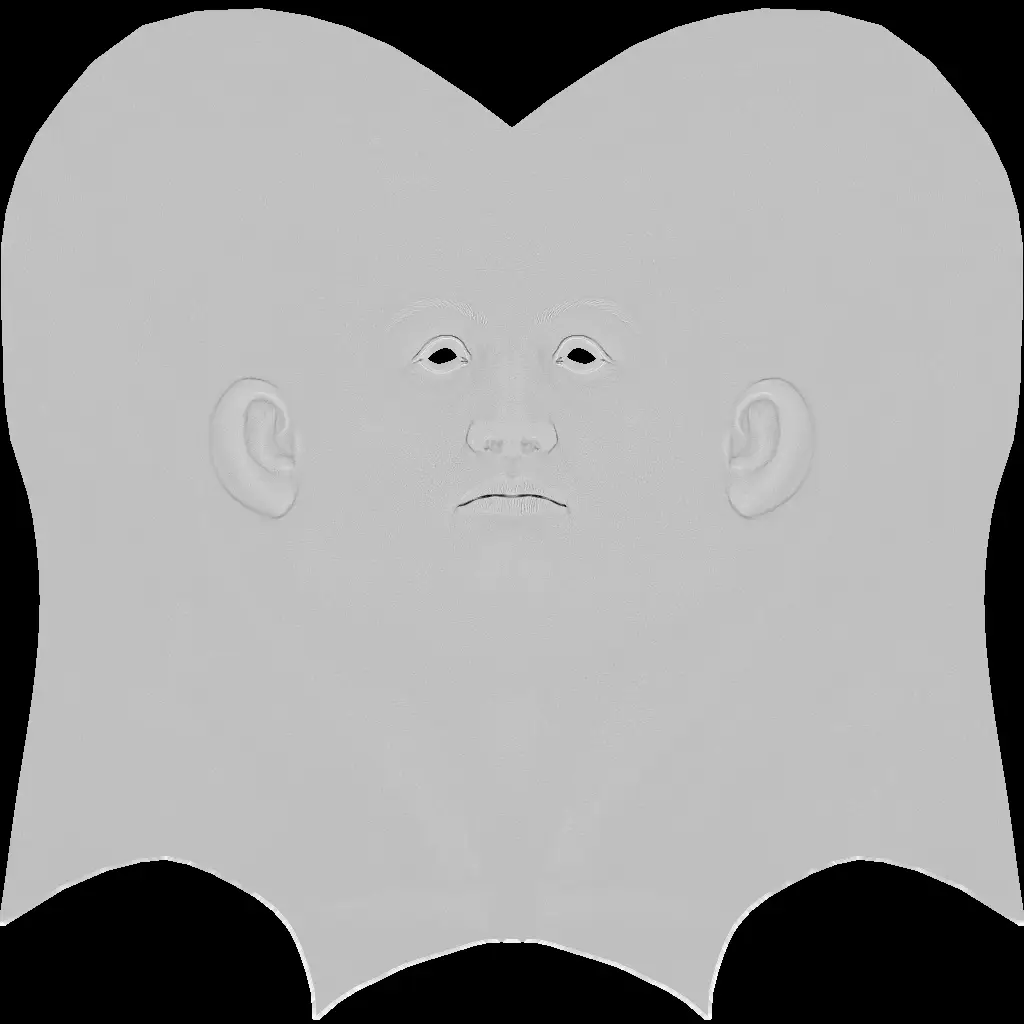
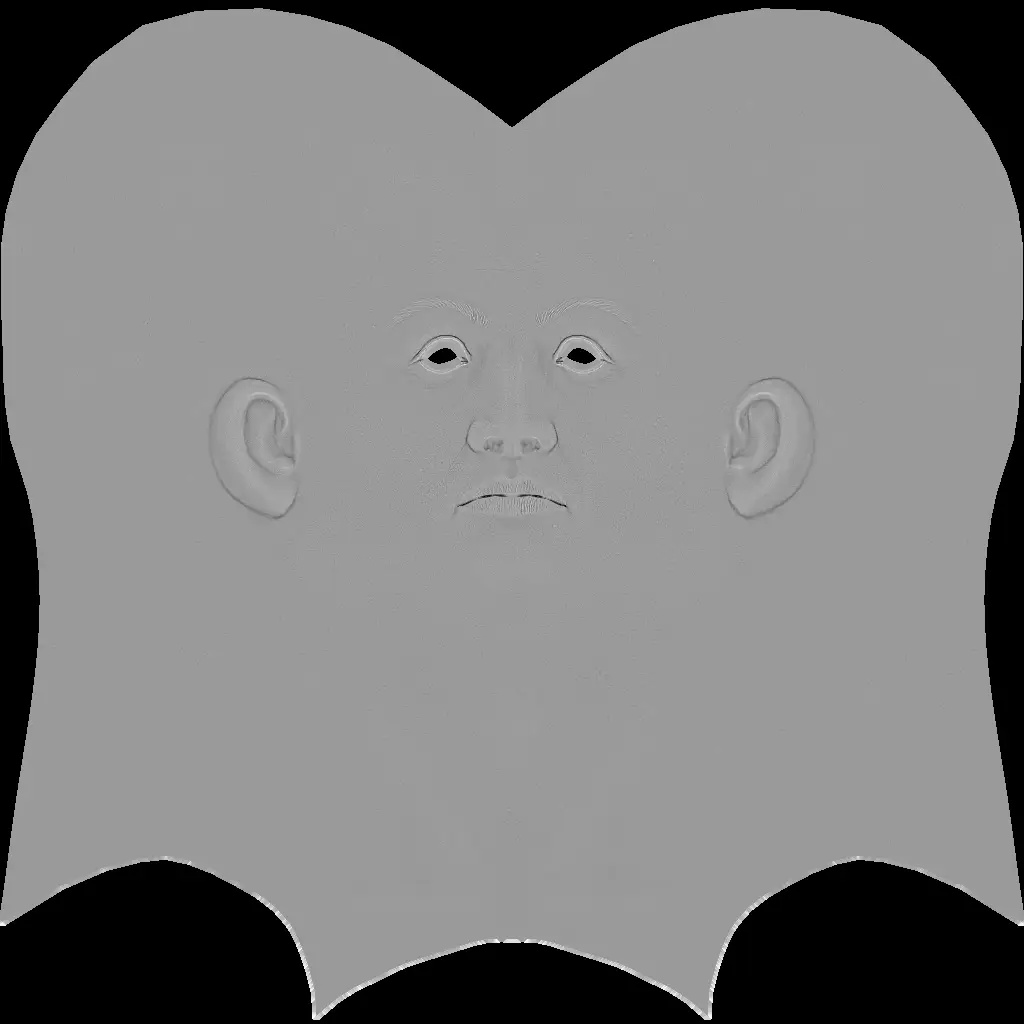
The following image shows an example of a displacement map created without subdividing the cage, and another one with the same cage subdivided 3 times:
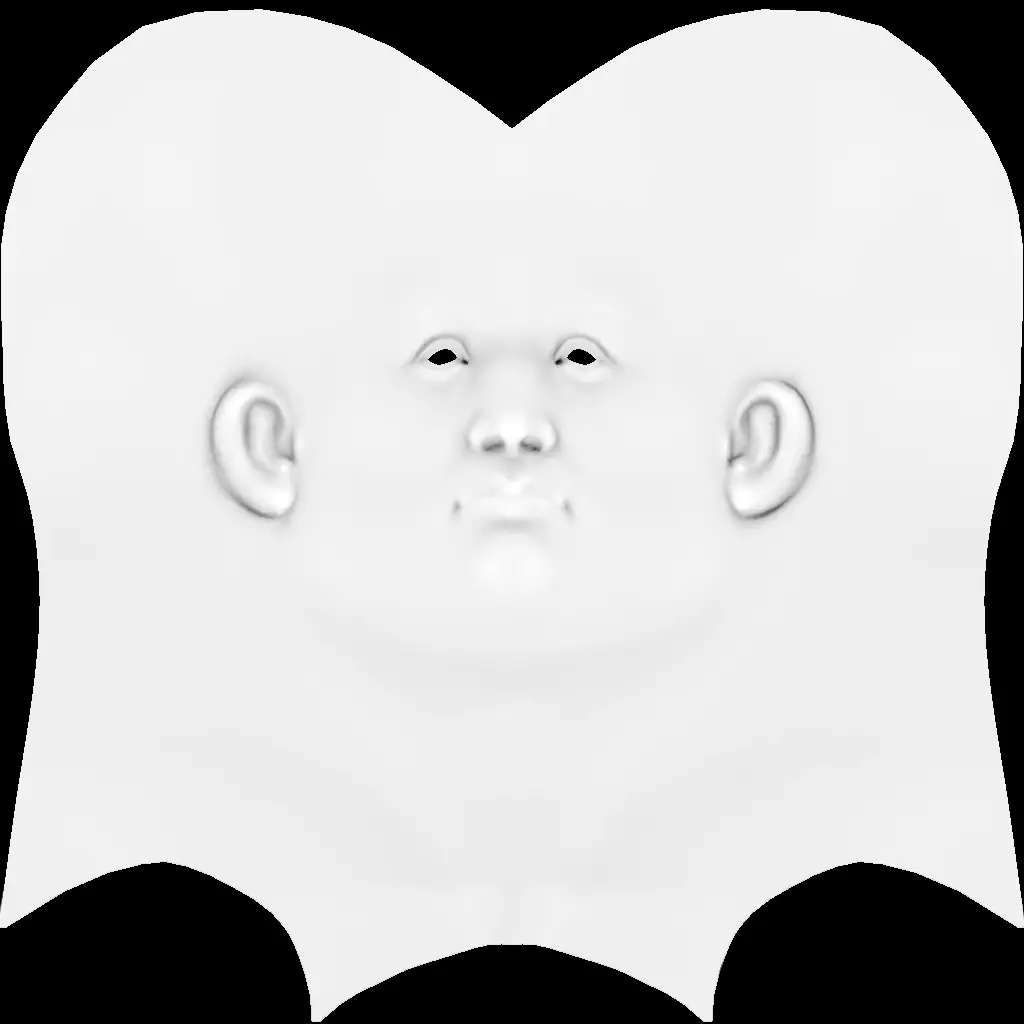
Hardware Ambient Occlusion
Ambient occlusion is a way to approximate the incoming amount of ambient (environmental) light a surface point receives. The amount of light can be diminished by other objects in the proximity of the sampled object points, occluding them.
You can bake ambient occlusion maps using TopoGun. The intensity of each pixel in the ambient occlusion map represents the visibility of that pixel in space of the surrounding environment (a black pixel will be totally hidden from the environment and a white one represents a pixel totally visible to the environment). The hardware ambient occlusion baking method uses an Outside In occlusion algorithm. That means the occlusion is computed by tracing rays randomly sampled from different positions in the environment to the sampled surface points. Ambient occlusion maps are a great addition to the texture creation process (the ambient occlusion map is often multiplied over the final colormap), improving the final textured object's realism. In order to bake a hardware ambient occlusion map, enable the Generate checkbox found in the Hardware Ambient Occlusion options group.
The Quality parameter defines the number of ambient occlusion iterations (the number of iterations roughly equals the Quality value multiplied by 100).
The Precision parameter helps bringing out some of the finer details, but the baking process can take longer.
The Skylight feature mimics the light coming from the sky (the light will come only from above, there will be a virtual ground plane blocking the light from below).
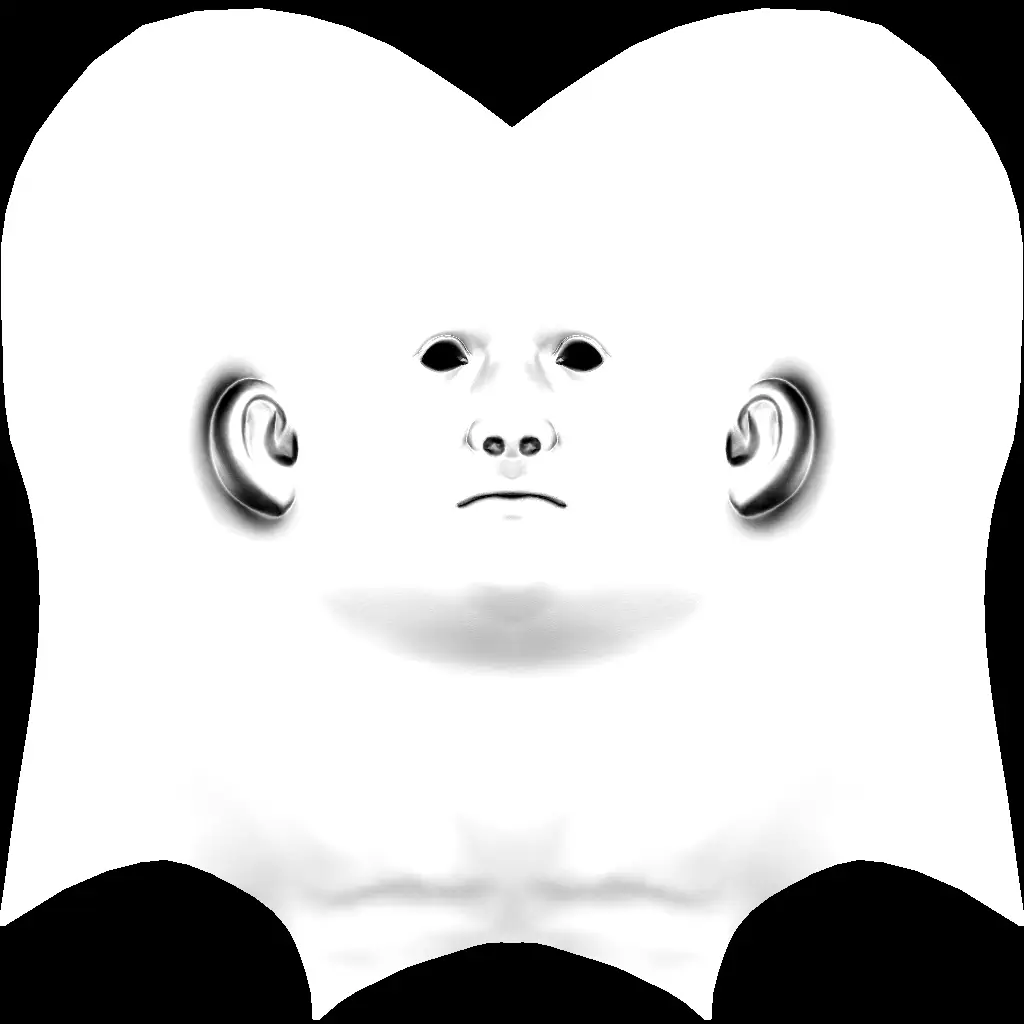
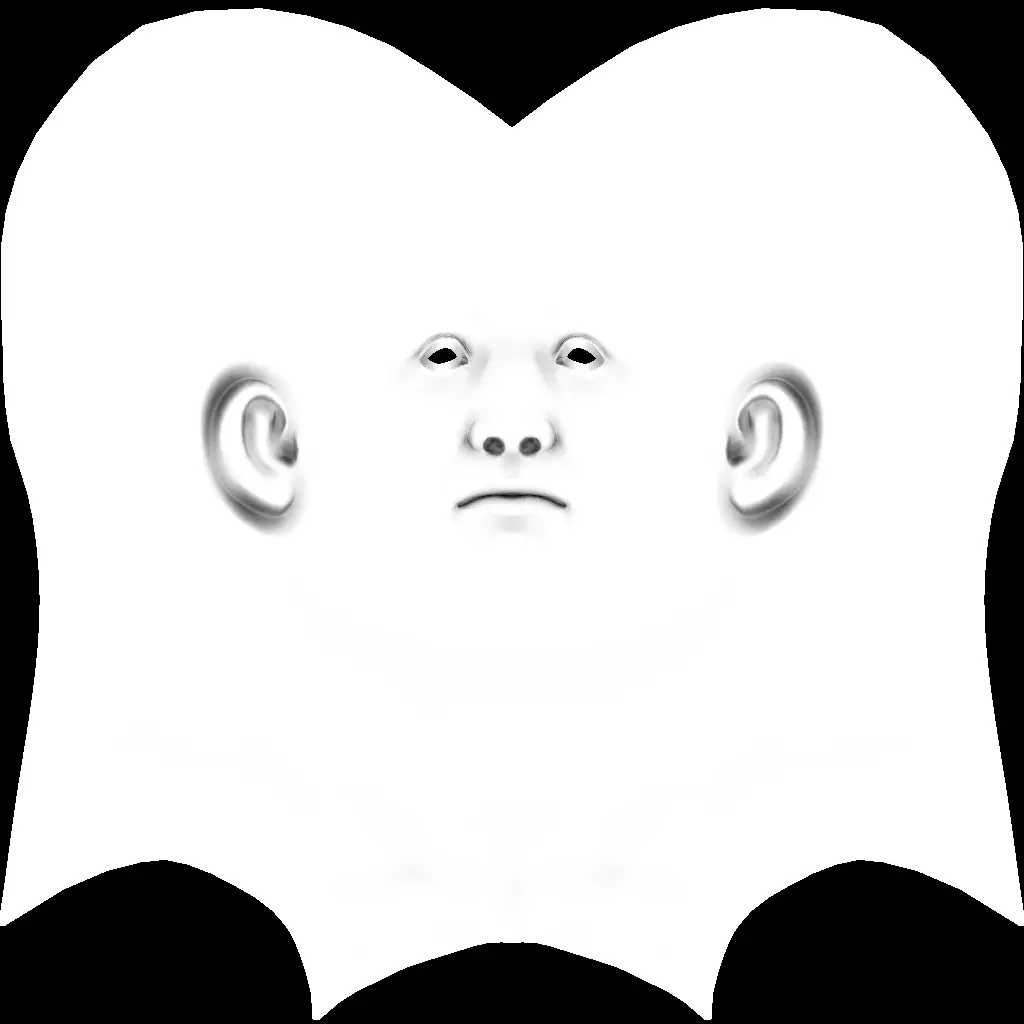
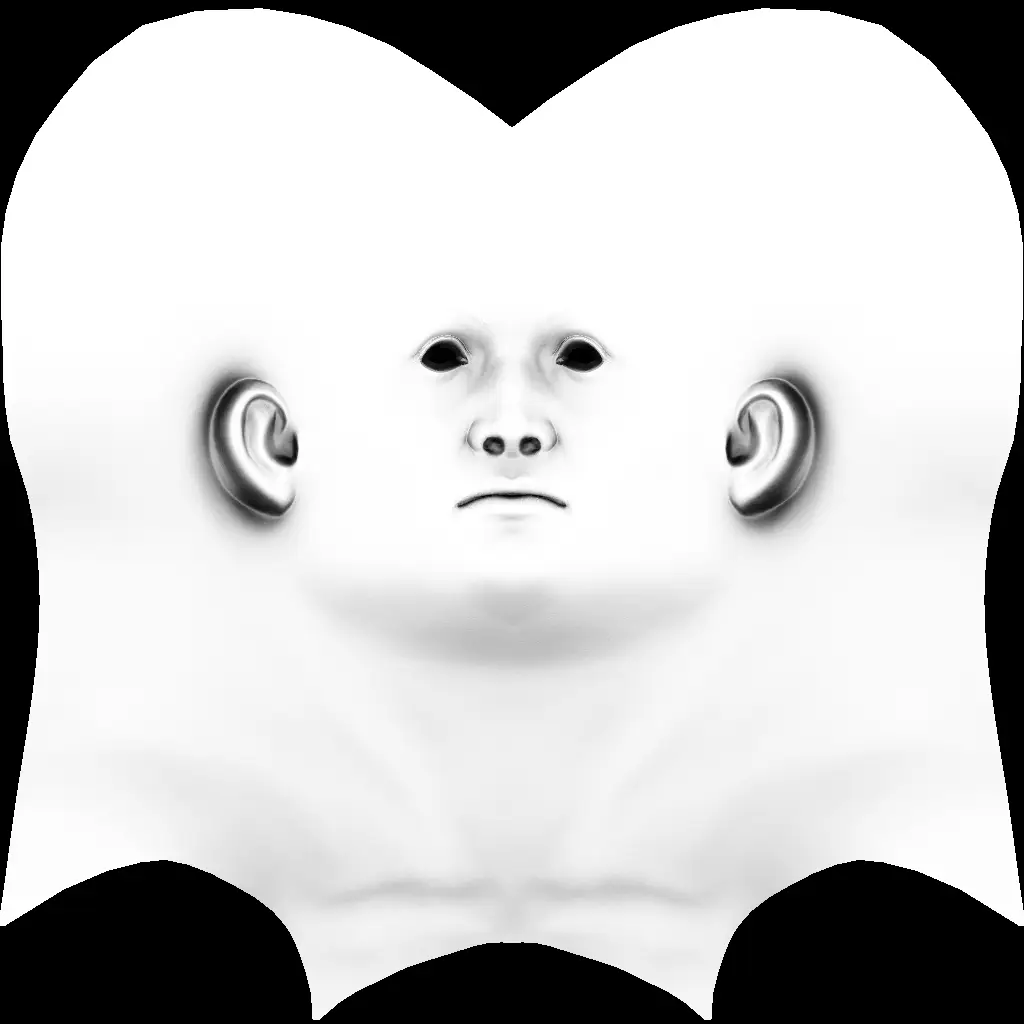
The Skylight coverage changes the environment's (sky) solid angle value. A value of 100 for this parameter means the environment is set to a full sphere around the object (this is the same thing as disabling the Skylight option). A value of 50 means the environment will be a 180 degree hemisphere around the object - 50% of the full sphere). The image below shows some examples of coverage values and their corresponding environment angles.
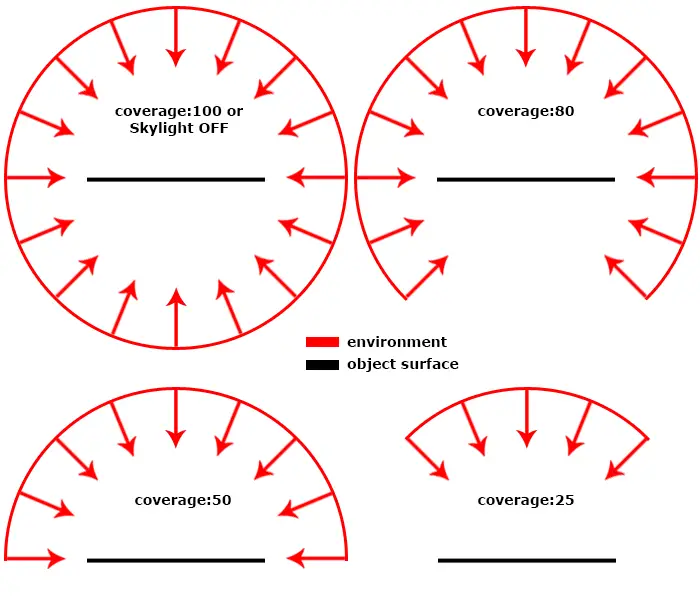
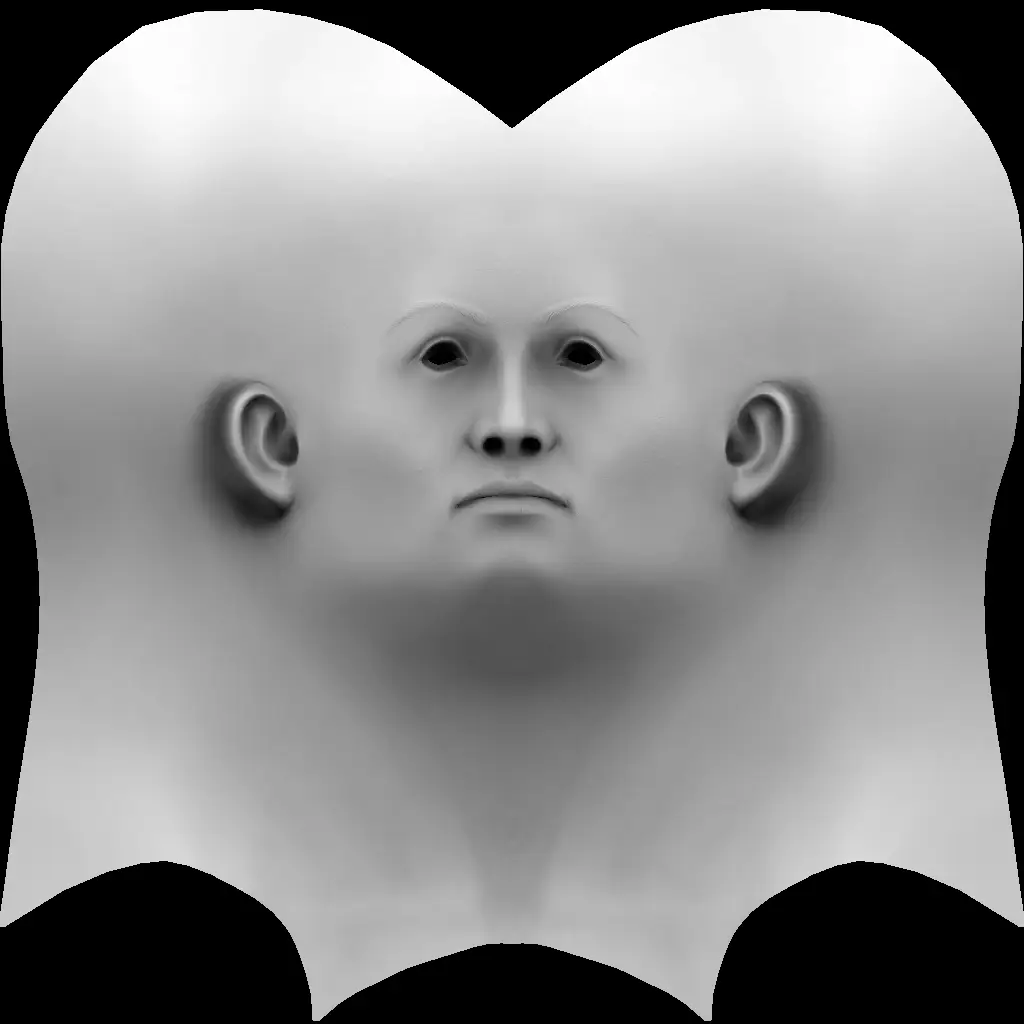
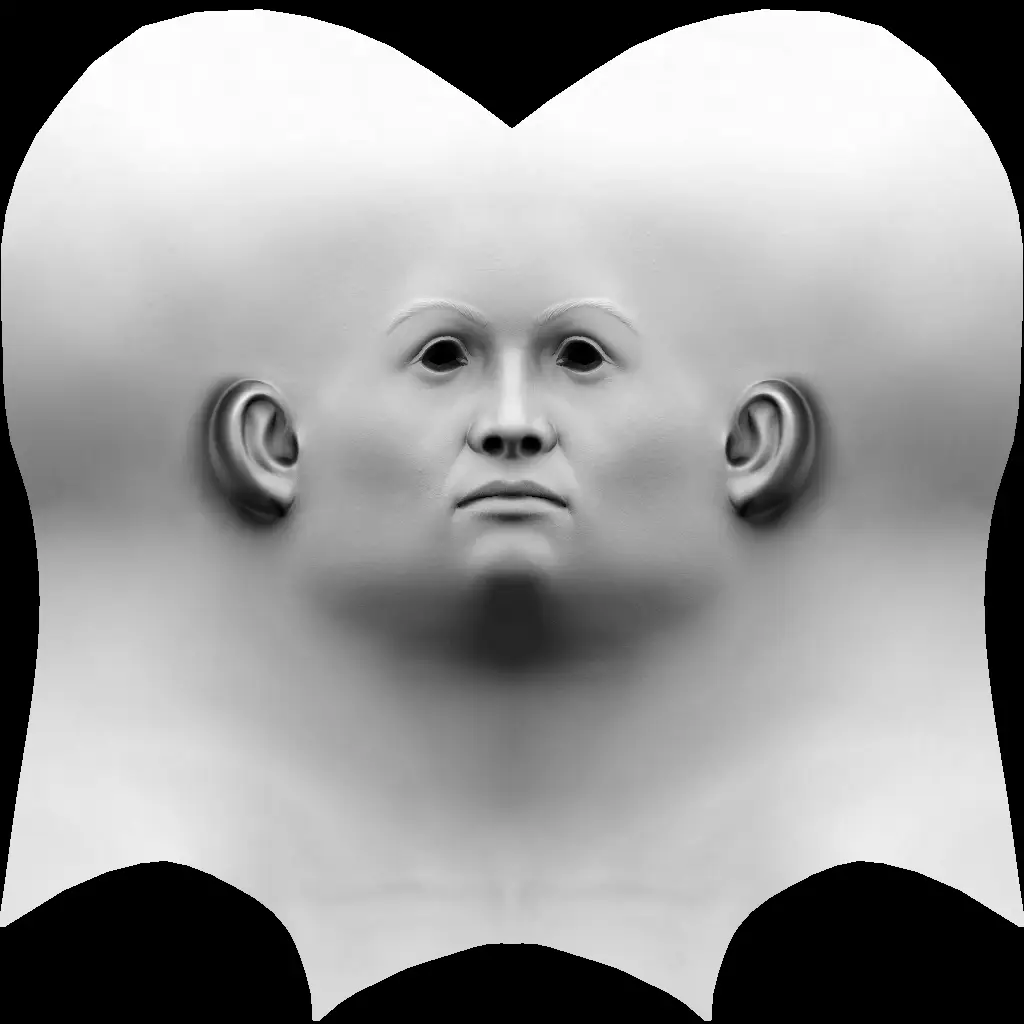
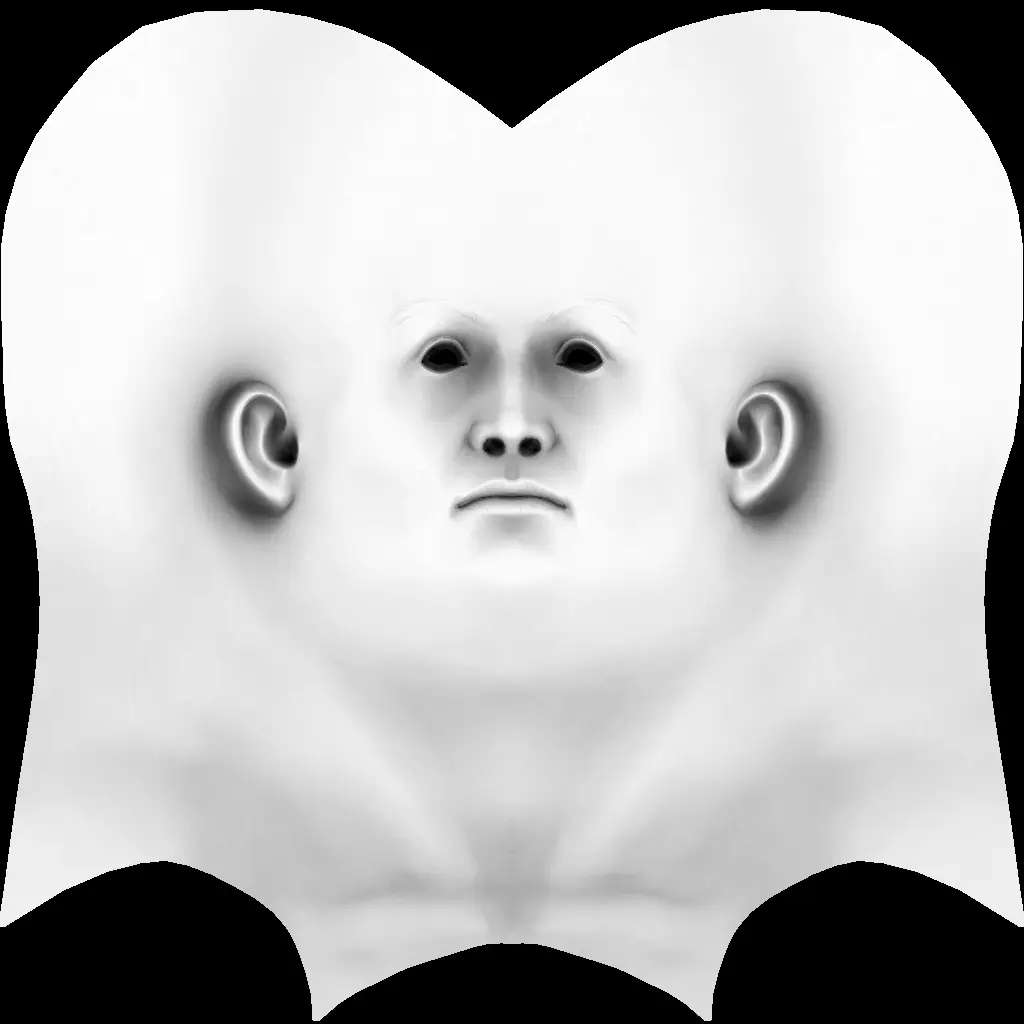
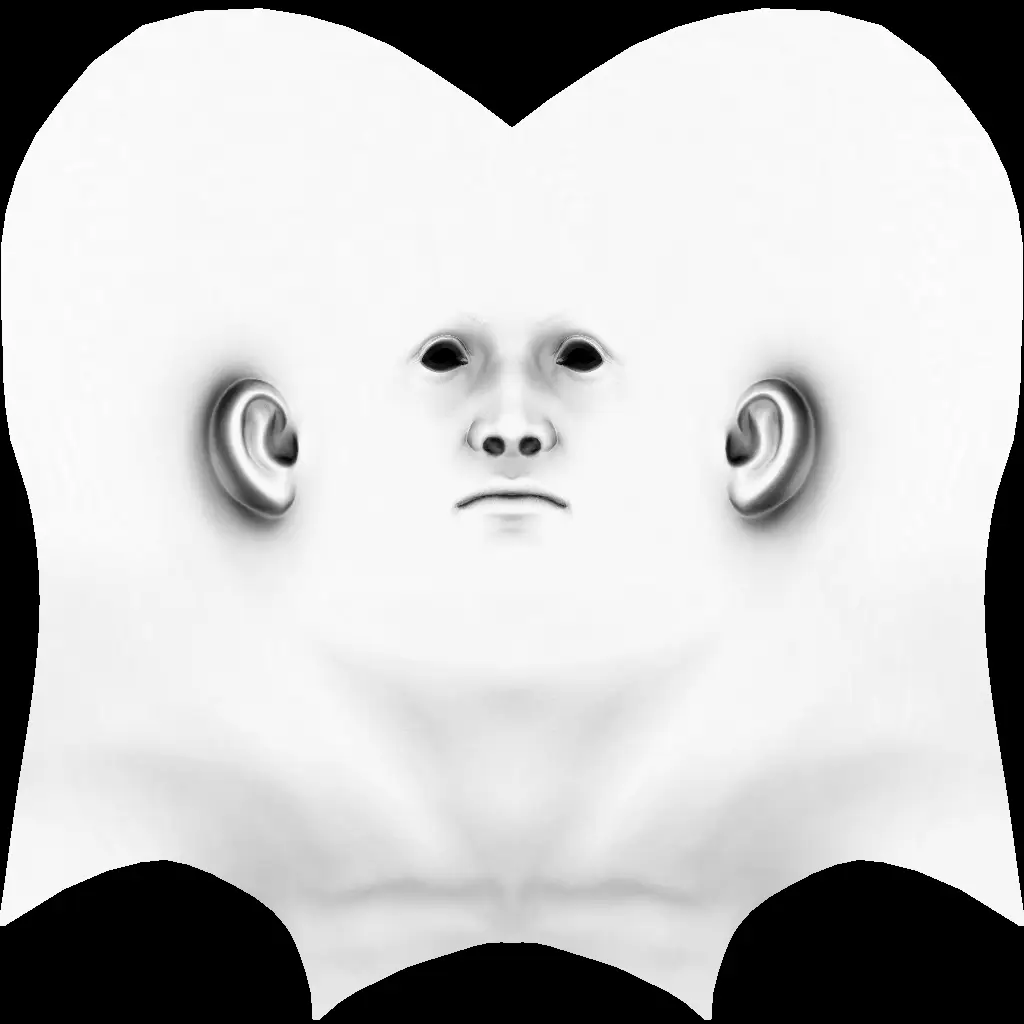
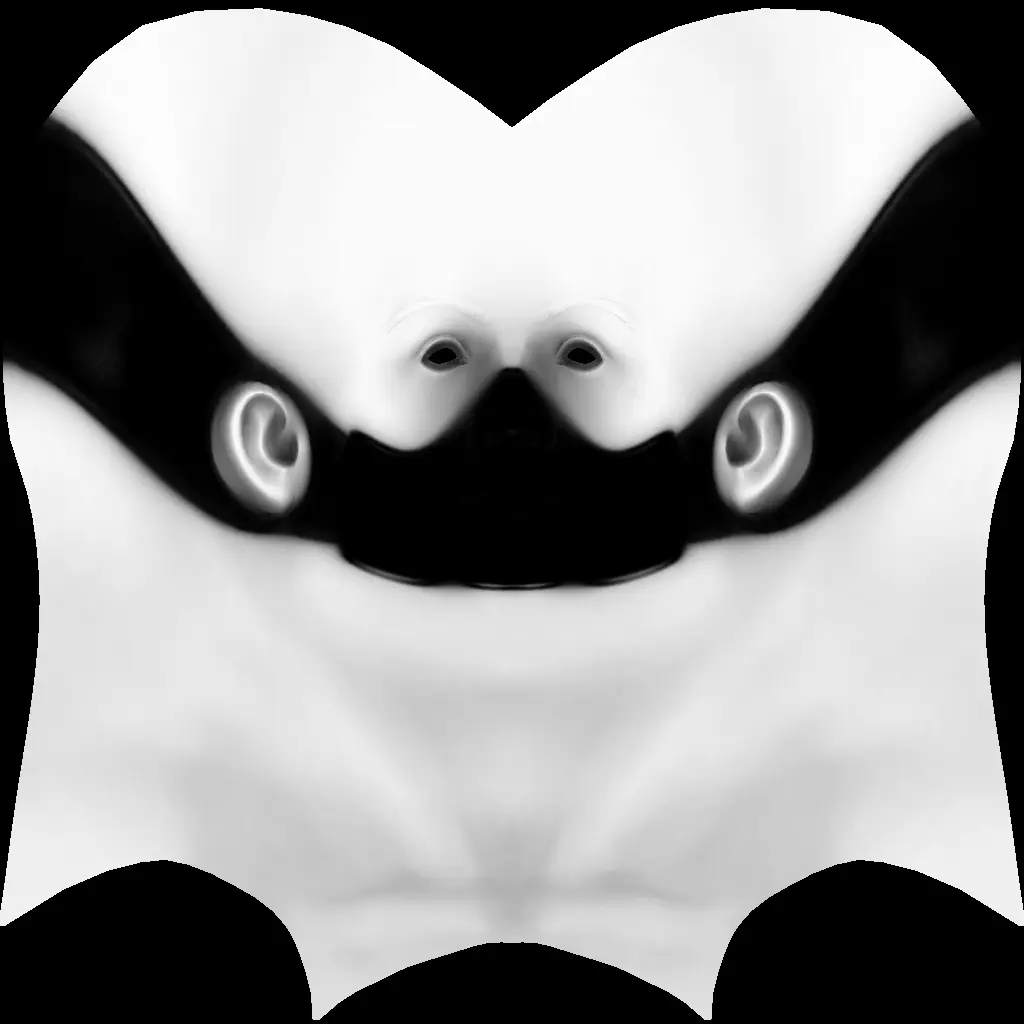
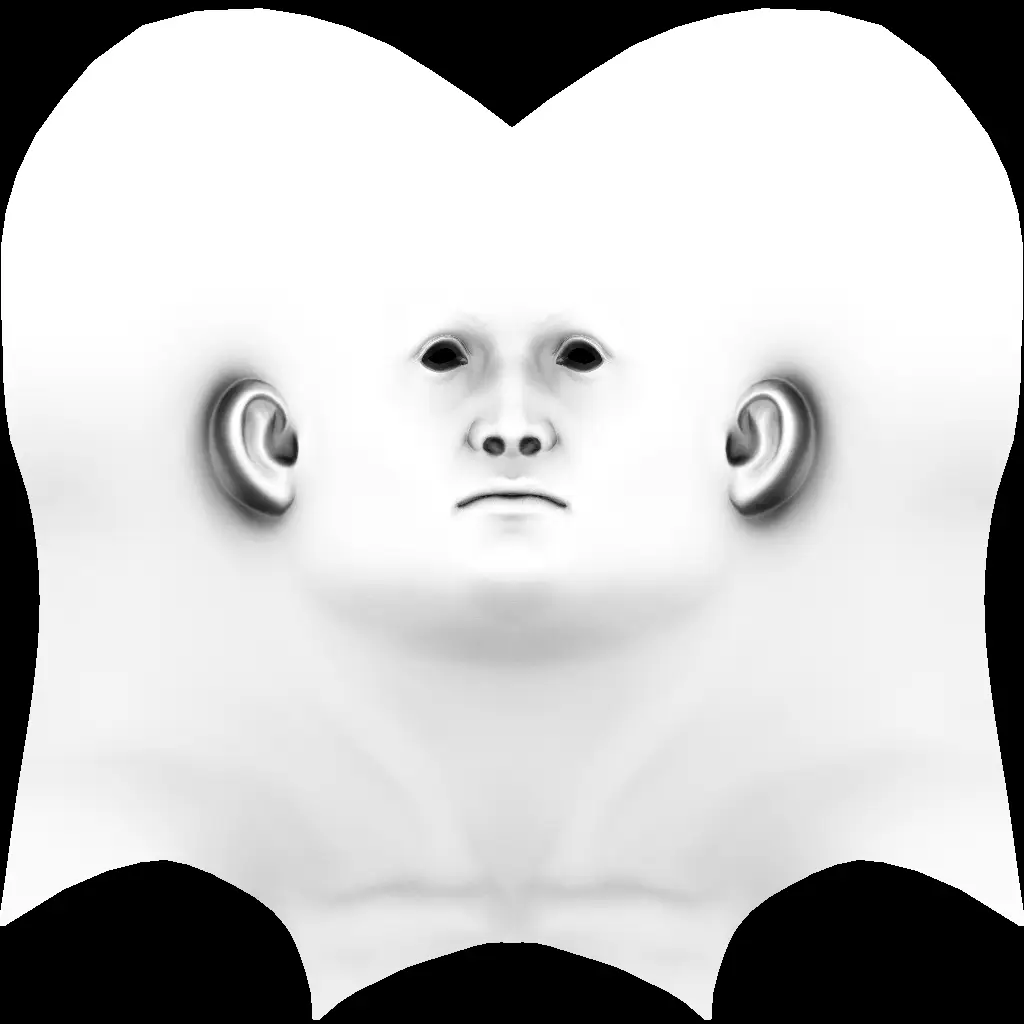
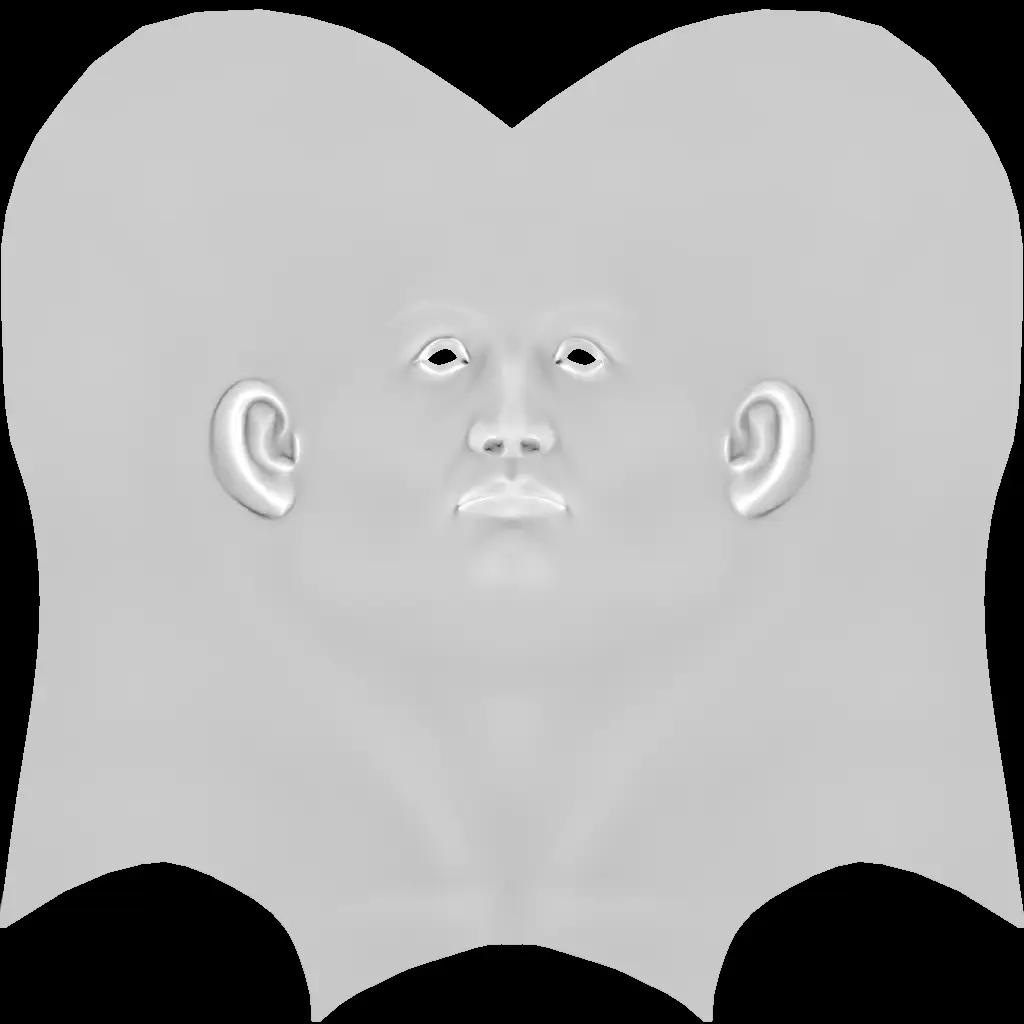
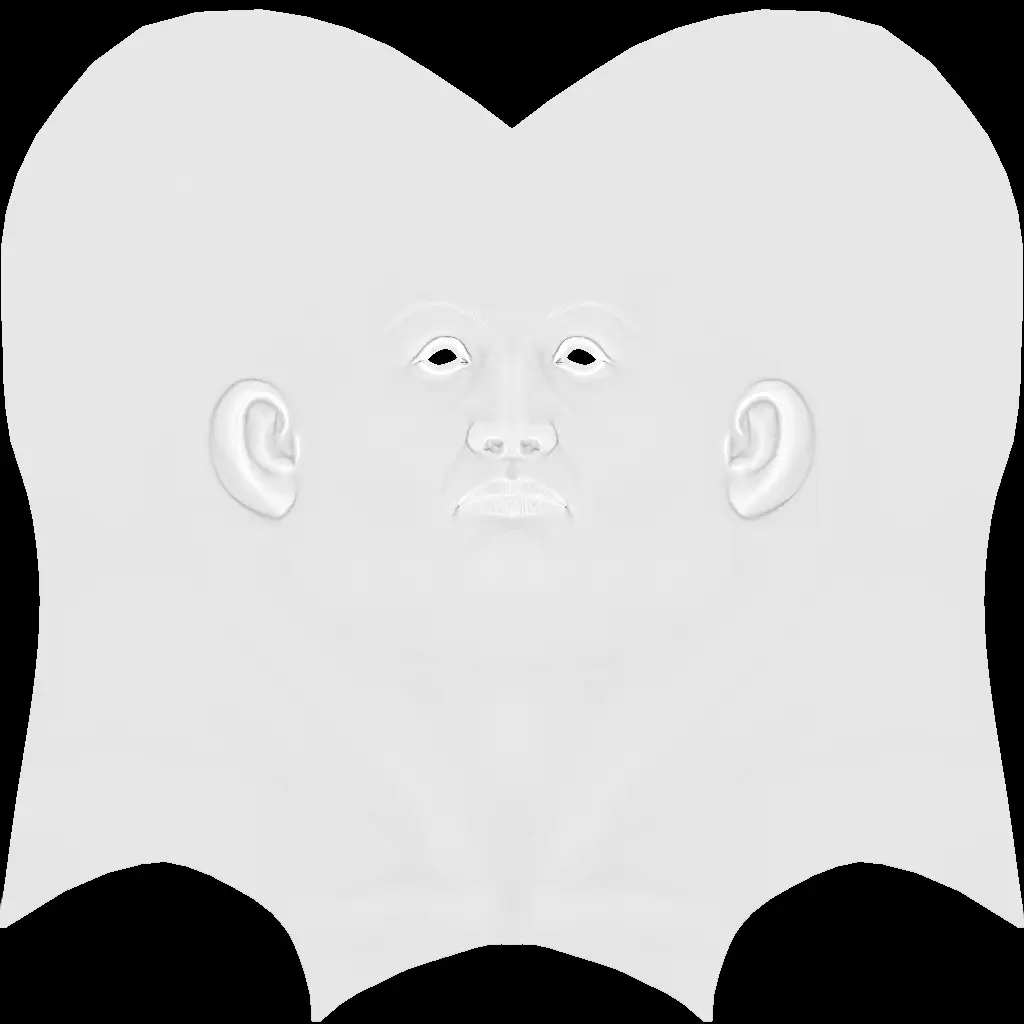
Below you can see how different Skylight Coverage values change the appeareance of the baked hardware ambient occlusion map.


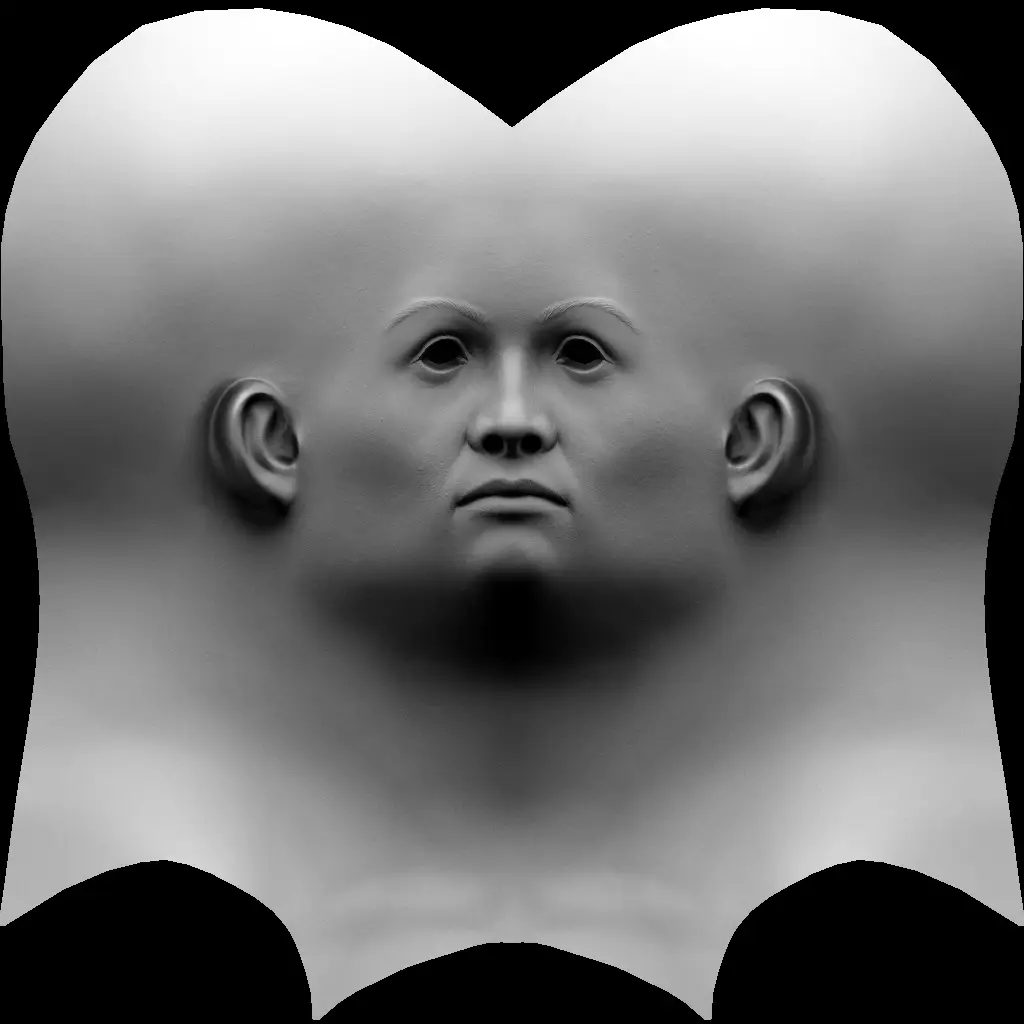
When the Lambertian option is active, the environment hemisphere will act as a real light source, the ambient occlusion will be computed using a lambertian term, producing a more detailed and realistic result. This way the fine details will become visible on the baked ambient occlusion map, unlike the regular ambient occlusion baking method.
Below you can see the .
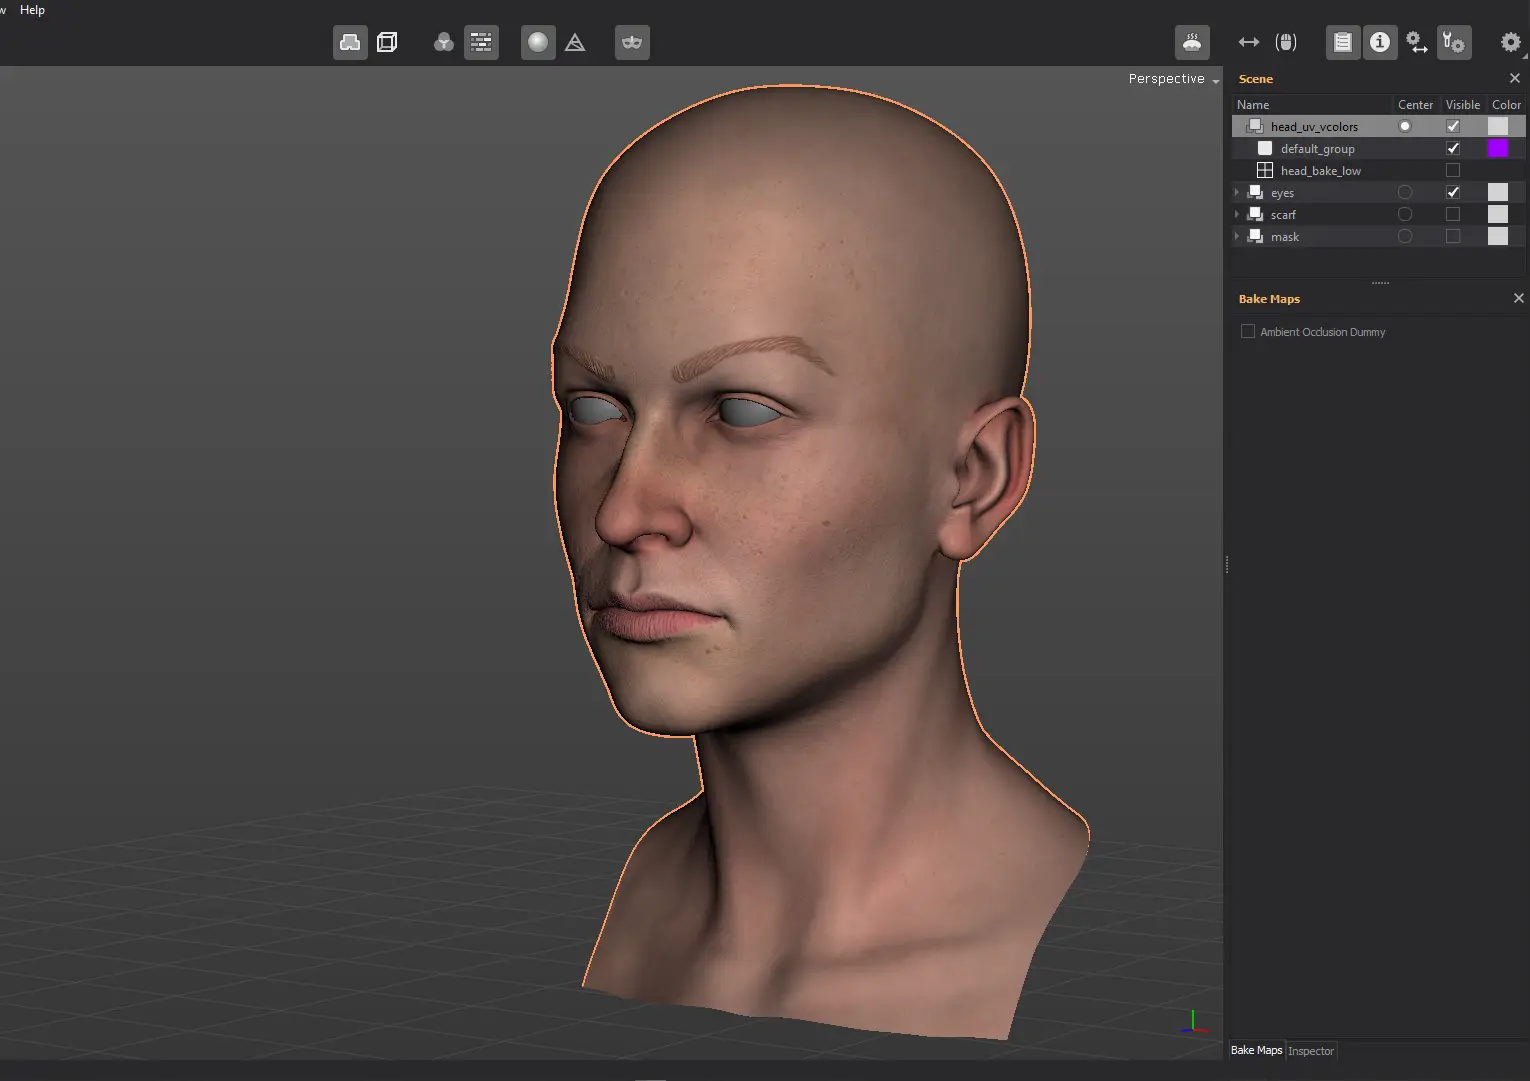
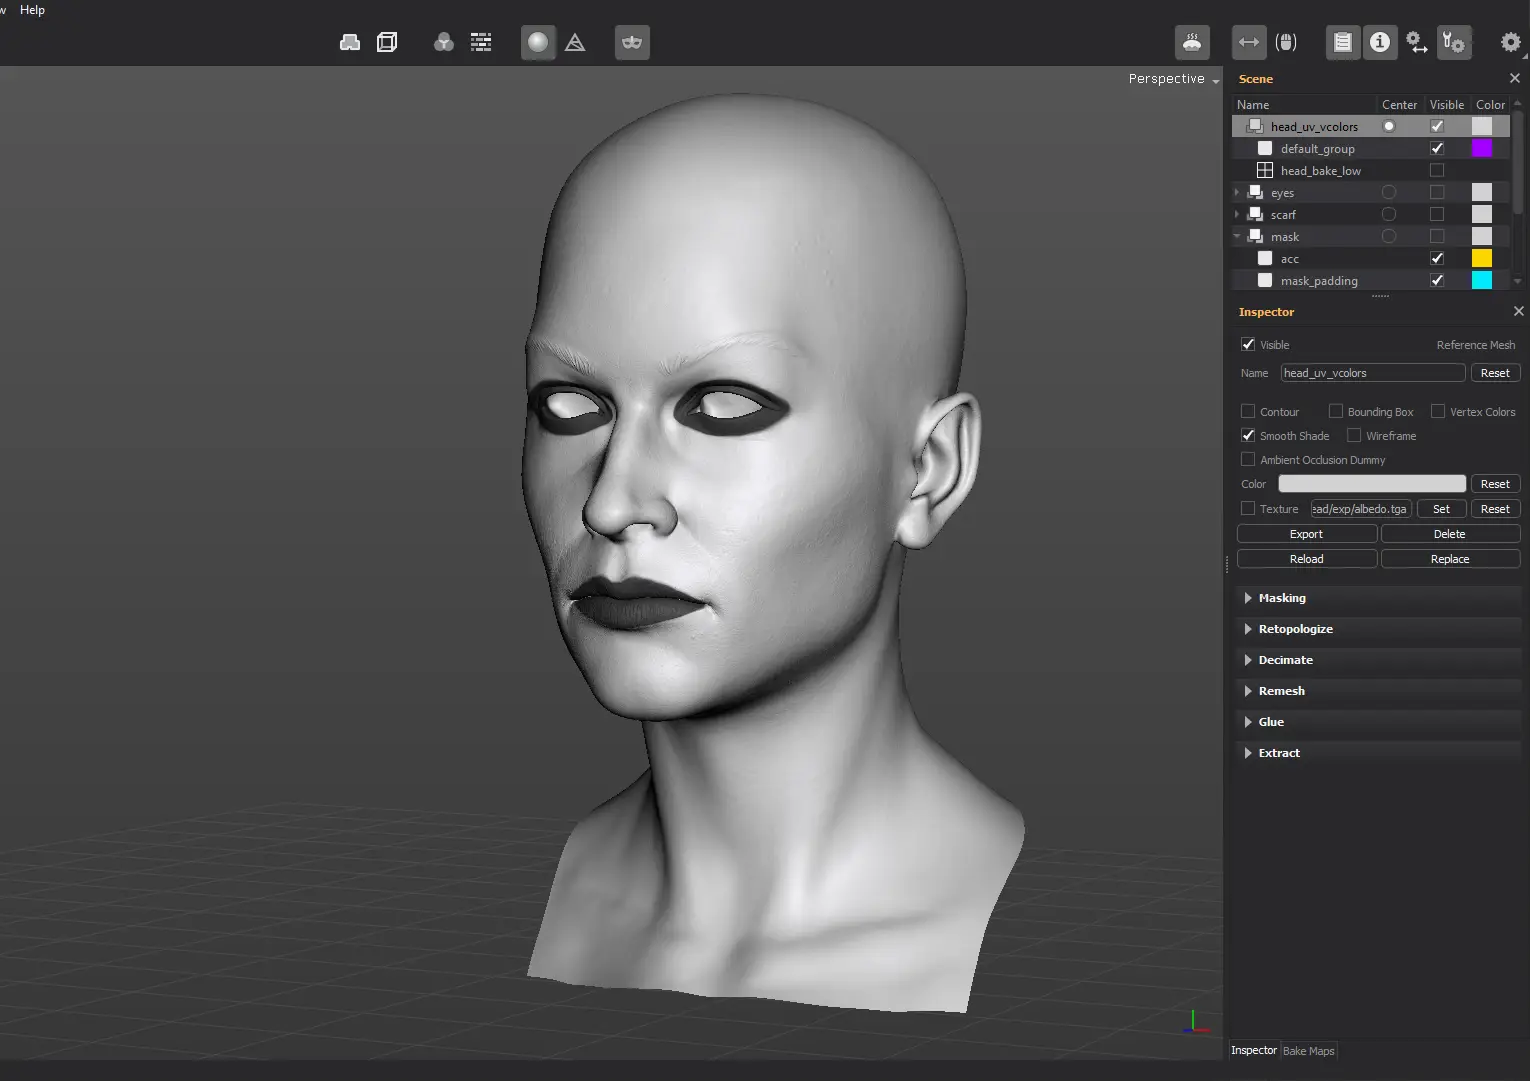
Another important feature is the usage of an ambient occlusion dummy objects. An ambient occlusion dummy mesh will occlude the reference mesh, but it won't be taken into account when generating other than hardware and software ambient occlusion maps (it's invisible to the raycasting engine).
In our example, we have the mask reference mesh. We want it to cast ambient occlusion over our baked map, but it should't be taken into account when baking other maps, such as the normal map.
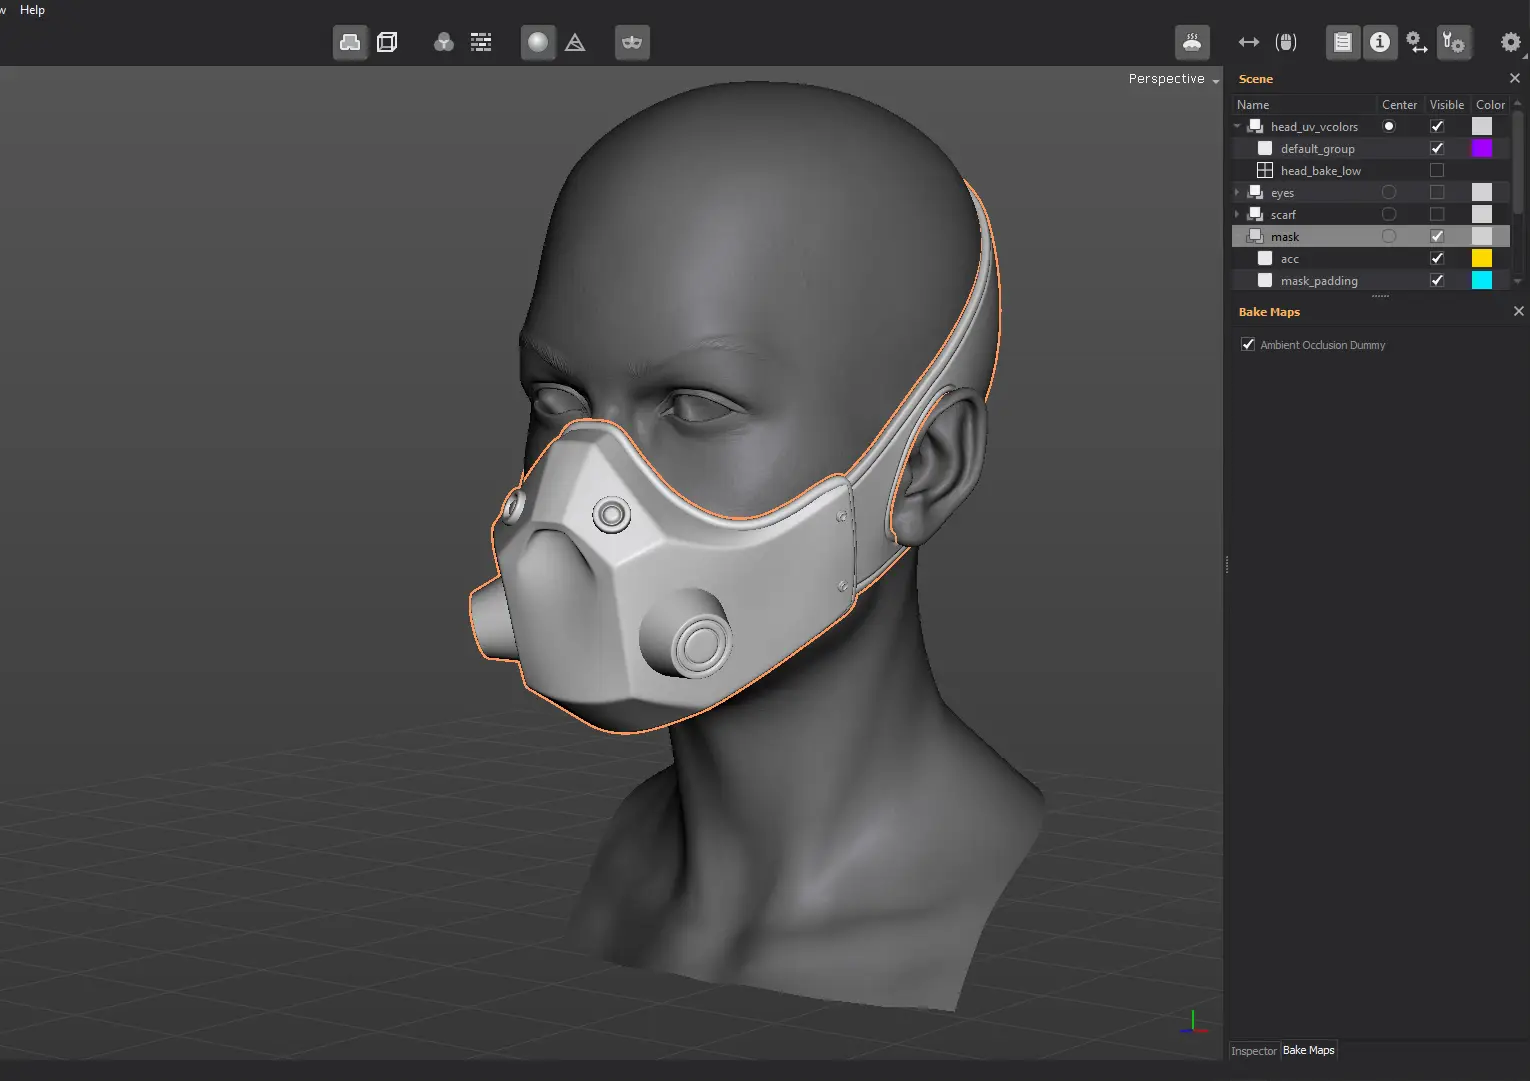
To achieve that, select the mask reference mesh and then enable the Ambient Occlusion Dummy option in the Inspector View or in the Bake Maps View.
Software Ambient Occlusion
The software ambient occlusion baking method uses an Inside Out occlusion algorithm. From each surface point, a number of rays are shot in random directions within a hemisphere. Each time a ray hits a surface, the occlusion value is increased for that surface point, thus darkening the current sampled point. In the end, the ratio between the number of rays that never hit a surface point and the total number of rays that were shot will give the final occlusion value for the given point.
The hardware occlusion baking method should be used instead the software approach, due to the better quality maps it provides and because of the lower amount time it takes to bake a map.
In order to bake a software ambient occlusion map, enable the Generate checkbox found in the Software Ambient Occlusion options group.
The Samples parameter defines the number of rays that will be shot from each surface point. Set the number of samples to a higher value, so the baked map will be less noisy.
The Spread parameter defines the solid angle value the rays will be shot within. A value of 180 means the rays will be shot in random directions within a hemisphere.
The Search Dist controls the length of each ray. A value of 0 makes the ray's length infinite. Any other value sets the ray length to a finite value. If an intersection occurs beyond the given length, the intersection will be discarded and the ray will be considered as if it missed any piece of geometry and will not occlude the surface point for the given ray.
The Skylight option adds a virtual ground plane to the scene, producing the so-called "skylight" effect.
The Lambertian option adds a cosine term to the occlusion calculus. Each ray will have a weight, based on the angle to the normal vector's cosine value.
Just like with the hardware ambient occlusion maps, you can use dummy reference meshes to cast ambient occlusion only, without affecting the other maps.
Color
Another type of maps you can bake in TopoGun are the color maps. You can use the reference mesh texture, vertex colors, groups colors and masking as a source for the color map.
Texture
If the reference mesh has a texture (a possible way of working is to create the reference mesh and then texturing it), you may then want to transfer the reference mesh's texture to the lowpoly cage's UV space. You should save the reference mesh texture as a .tga file first, then load it on the reference mesh in the Inspector View.
Obviously, you can't apply the original texture on the lowpoly cage, because most likely the lowpoly cage has different UV coordinates, compared to the reference mesh.
You'll have to transfer the color map from the reference mesh's UV space to the lowpoly's UV space. In order to do that, open the Generate checkbox in the Color options group.
The default transfer type is set to Texture.
Vertex Colors
The Vertex colors mode helps you bake reference mesh vertex color data. The reference mesh should be saved as a PLY file and contain per vertex color data, saved as unsigned char red, green and blue properties. You can also import ZBrush per vertex color data, saved within the OBJ meshes you export from the application. Make sure you check the Colorize option before exporting the mesh from ZBrush.
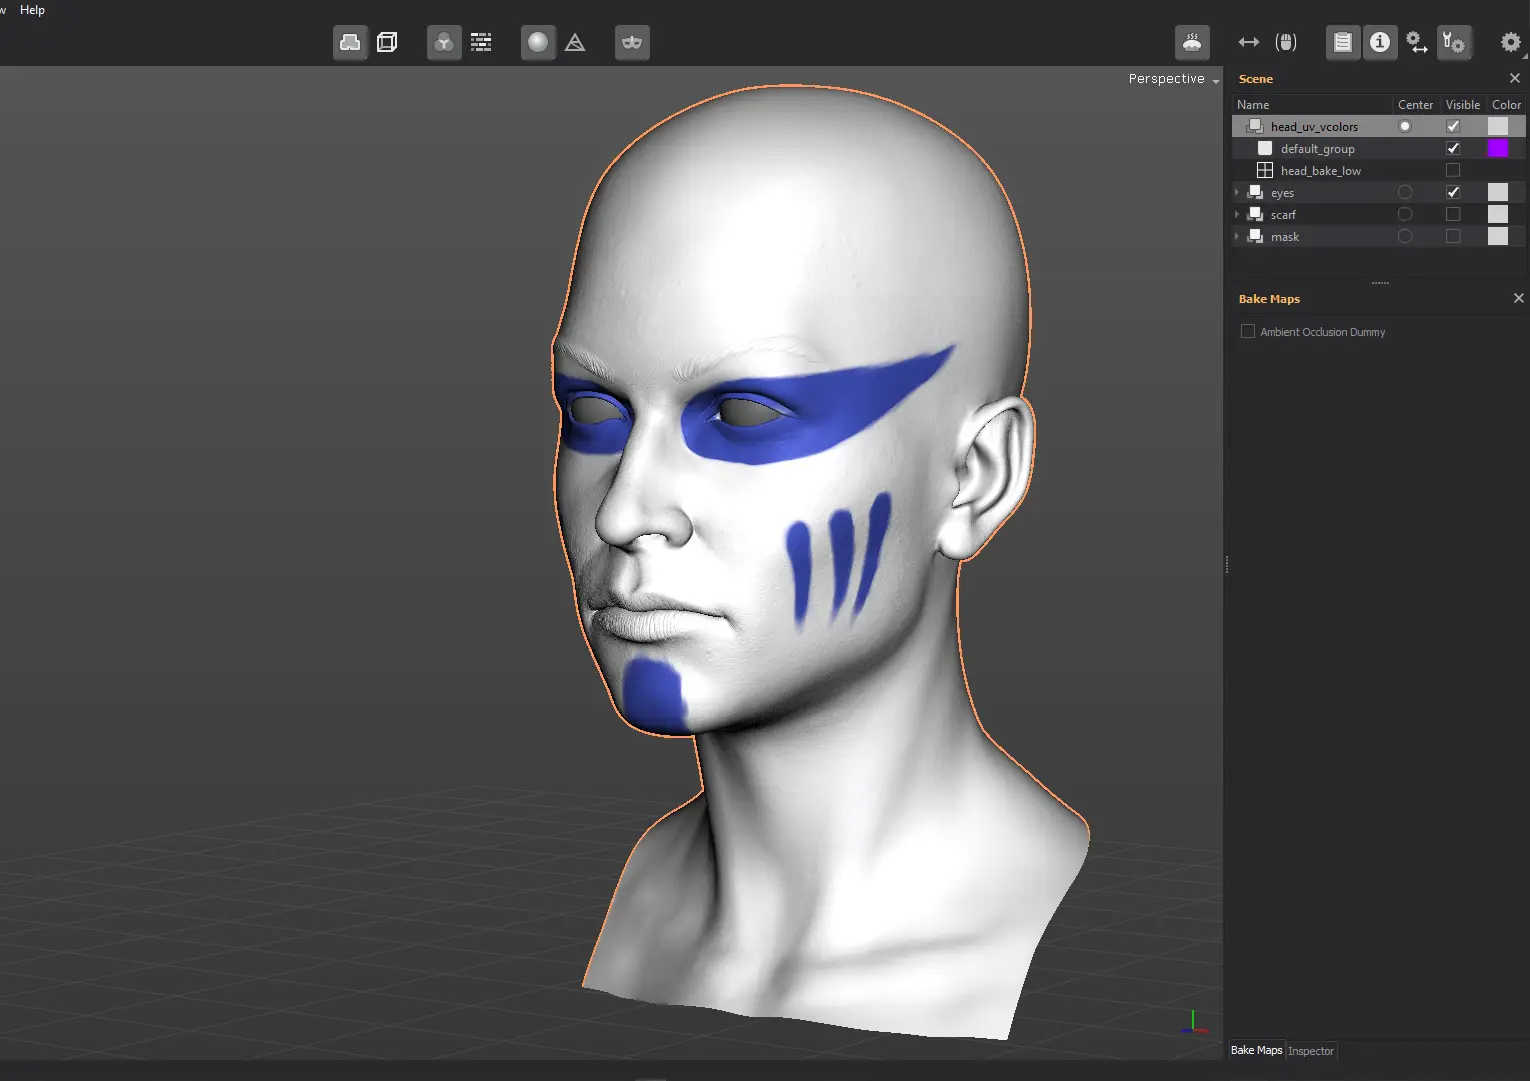
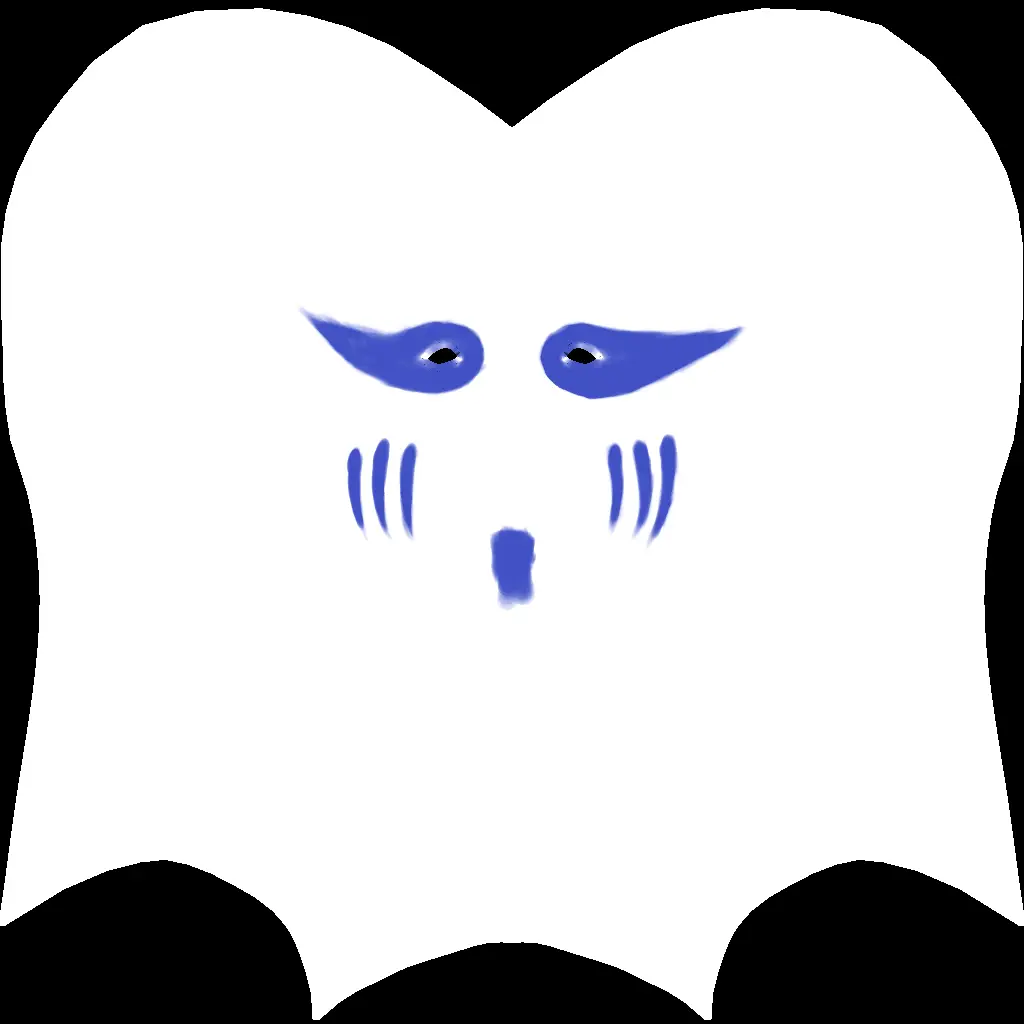
After choosing the Vertex Colors mode, you can transfer the vertex colors to the baked color map.
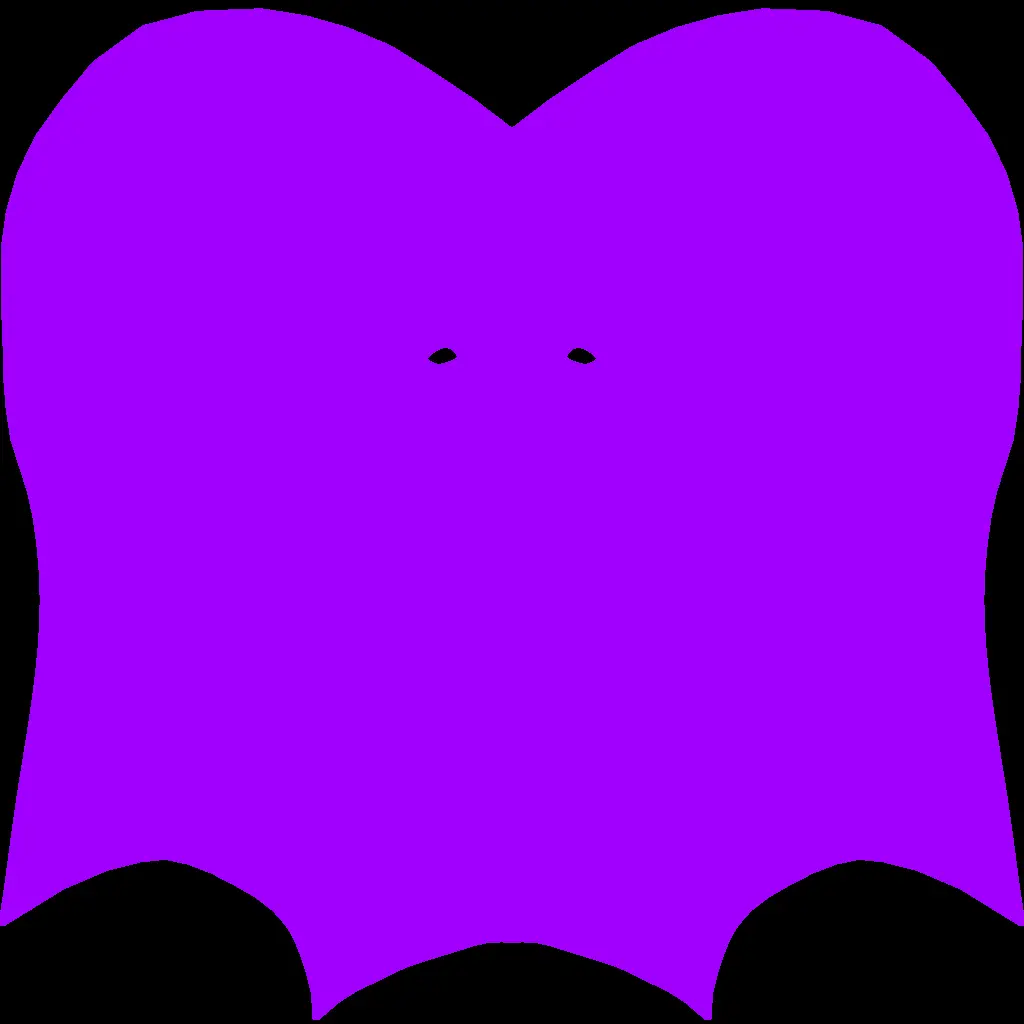
Groups Colors
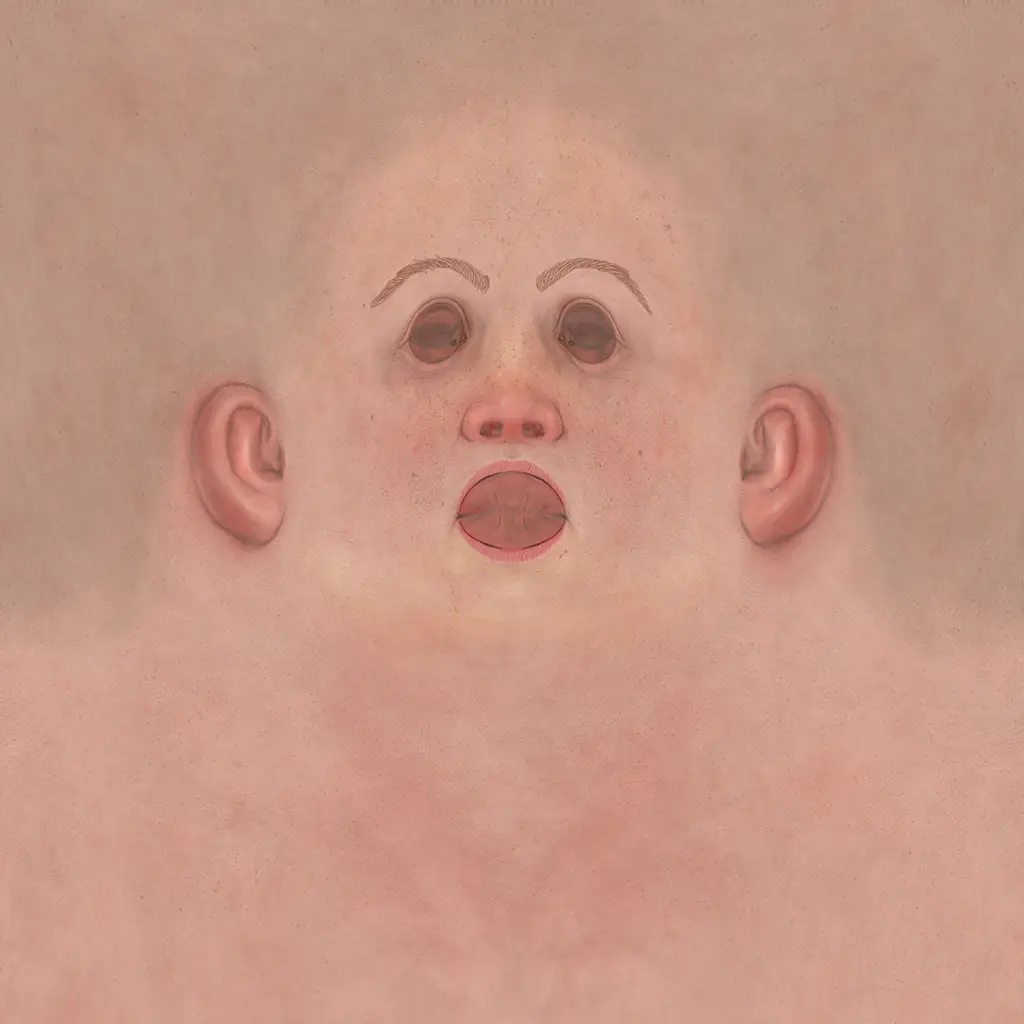
Another useful feature is baking group colors. If the reference mesh has multiple groups, you can bake the groups colors (these are randomly assigned at the reference mesh's loading time). This could be extremely useful when creating a texture, since the different colored groups can make it easier to create pixel selections.
To bake group colors, activate the Groups Colors option. In this example, we only get one color, because the reference mesh has one group only.
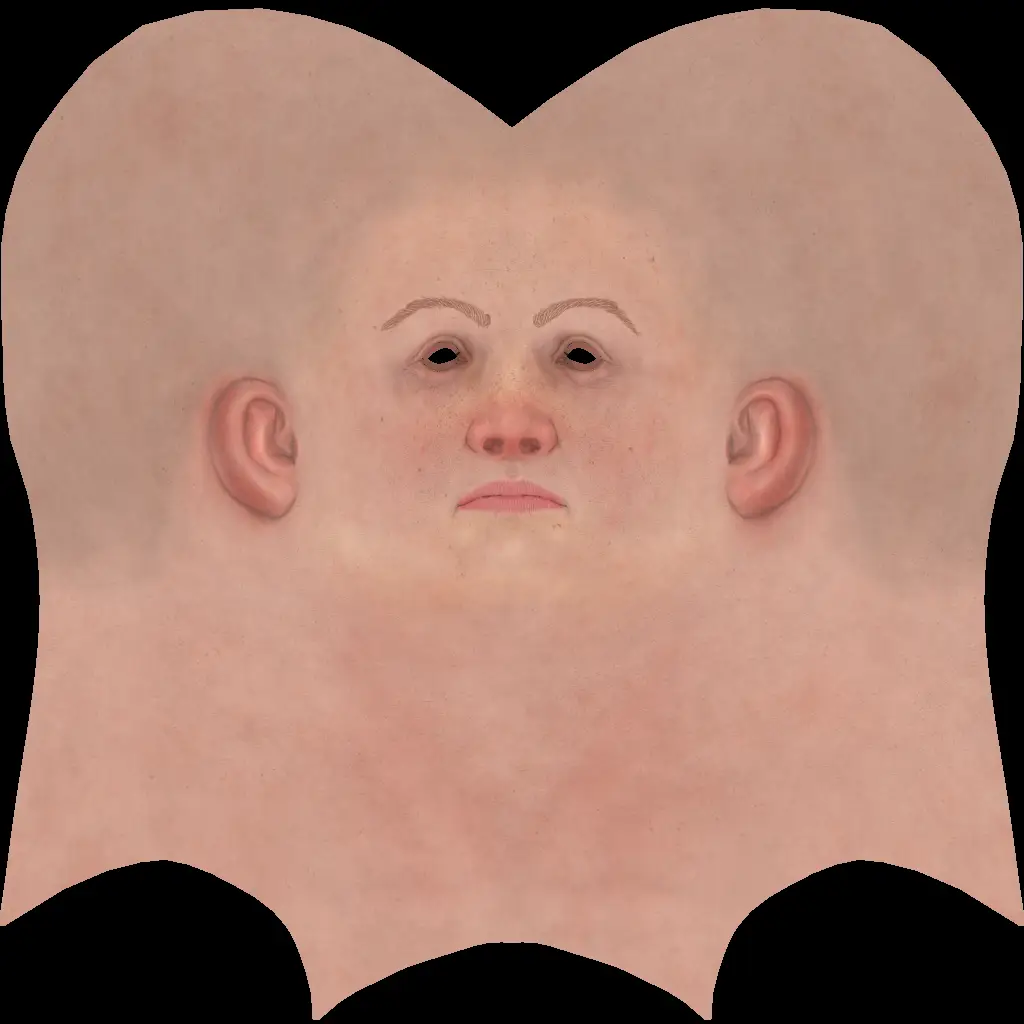
In the following example, a reference mesh with multiple groups is used.

The resulting map contains all the groups colors baked in the color map.

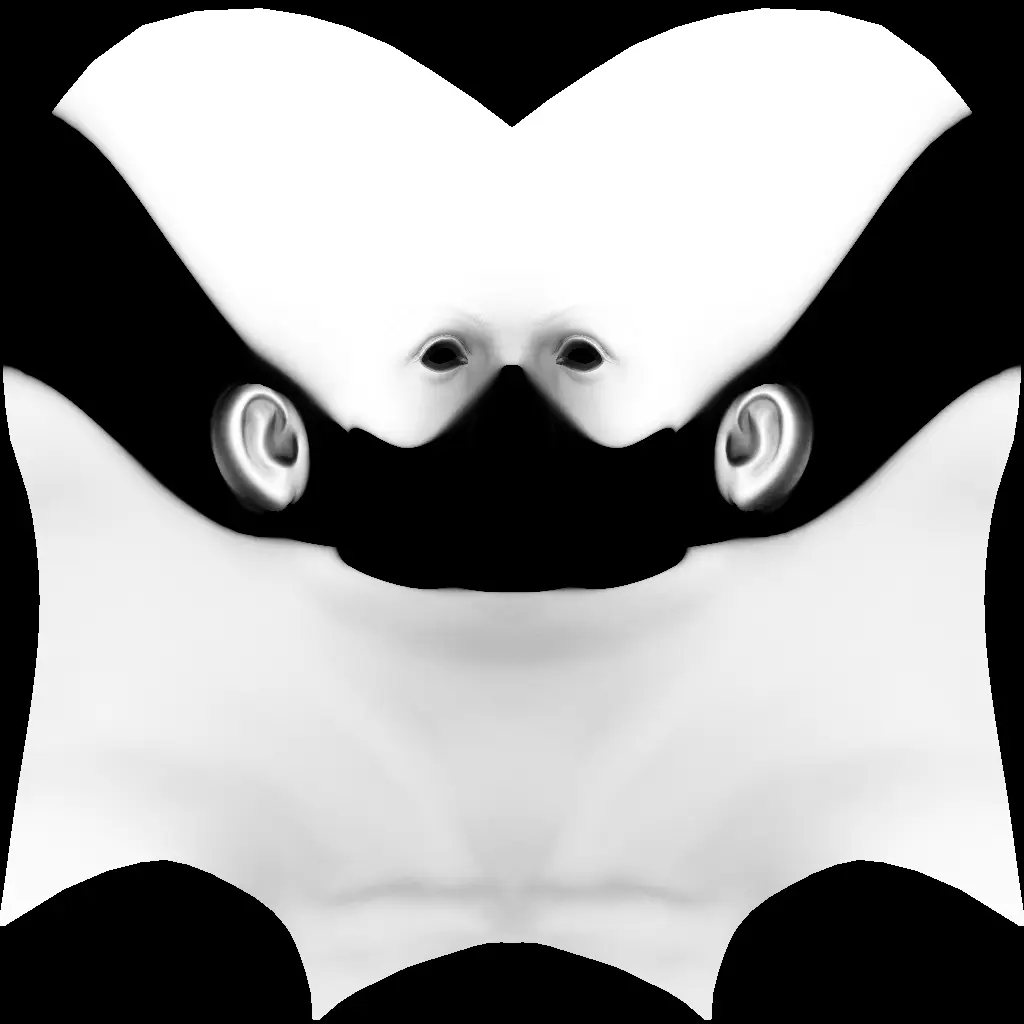
Mask
If the reference mesh has masking data (created with the Mask tool), you can transfer it to a color map.
The resulting color map will contain all the painted masking details.

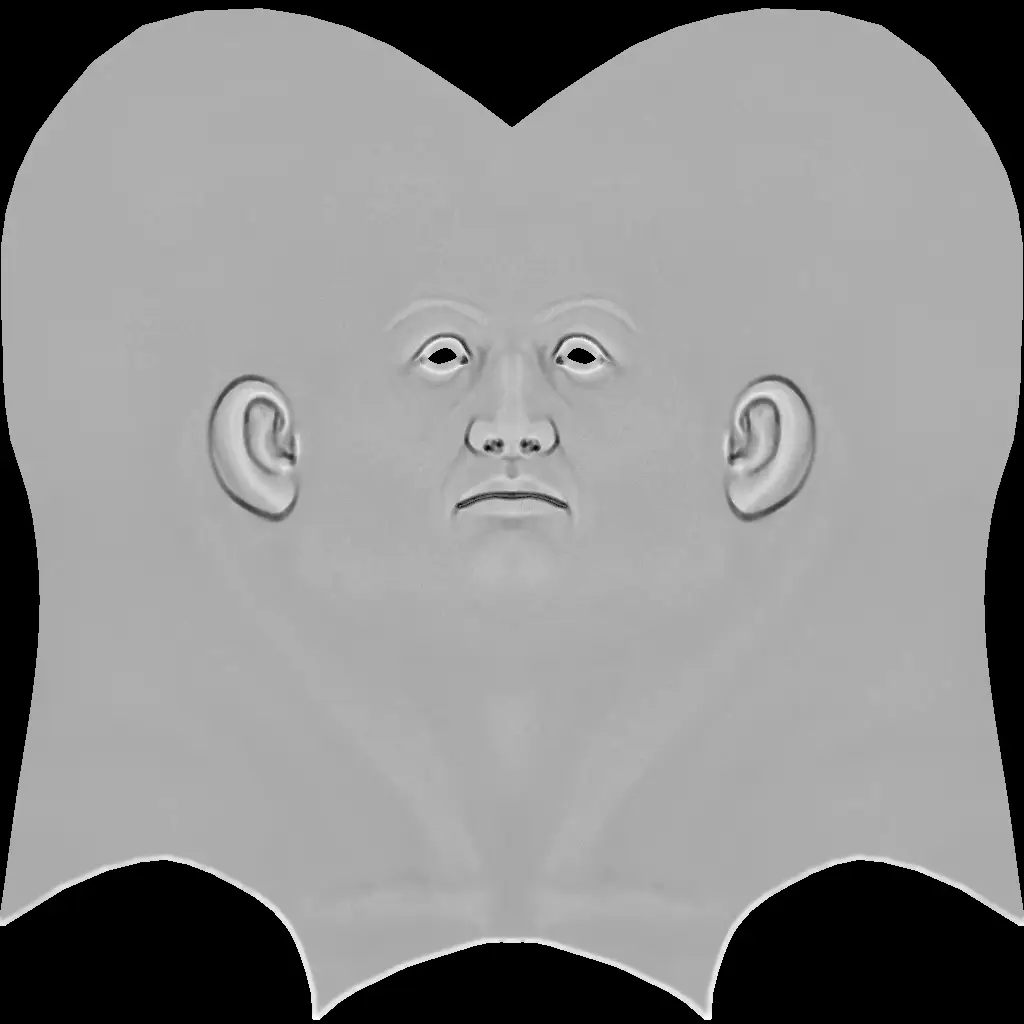
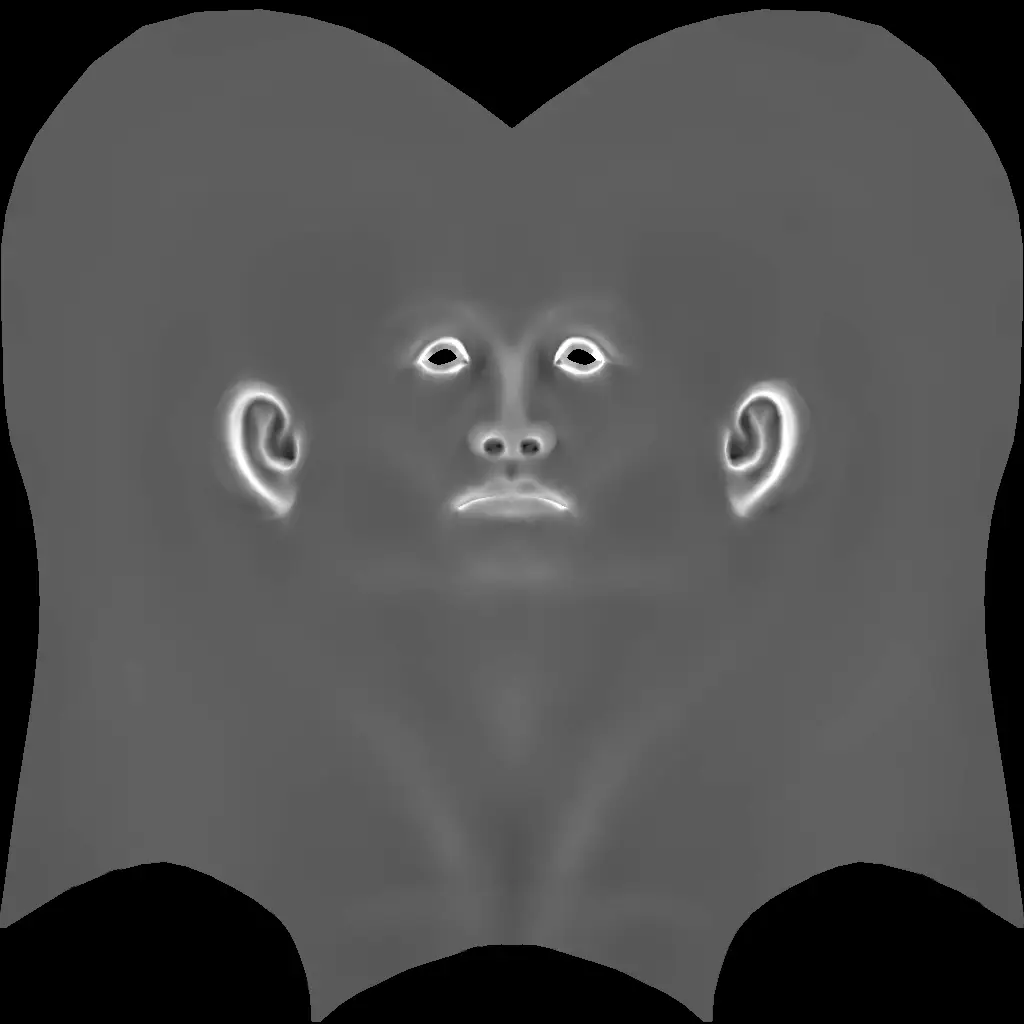
Curvature
Curvature maps are used to improve the final texture quality. They show how the reference mesh surface bends, creating ridges and valleys.
In order to bake a curvature map, enable the Generate checkbox found in the Curvature options group.
The curvature is extracted from a proxy mesh, which is created as a decimated version of the reference mesh.
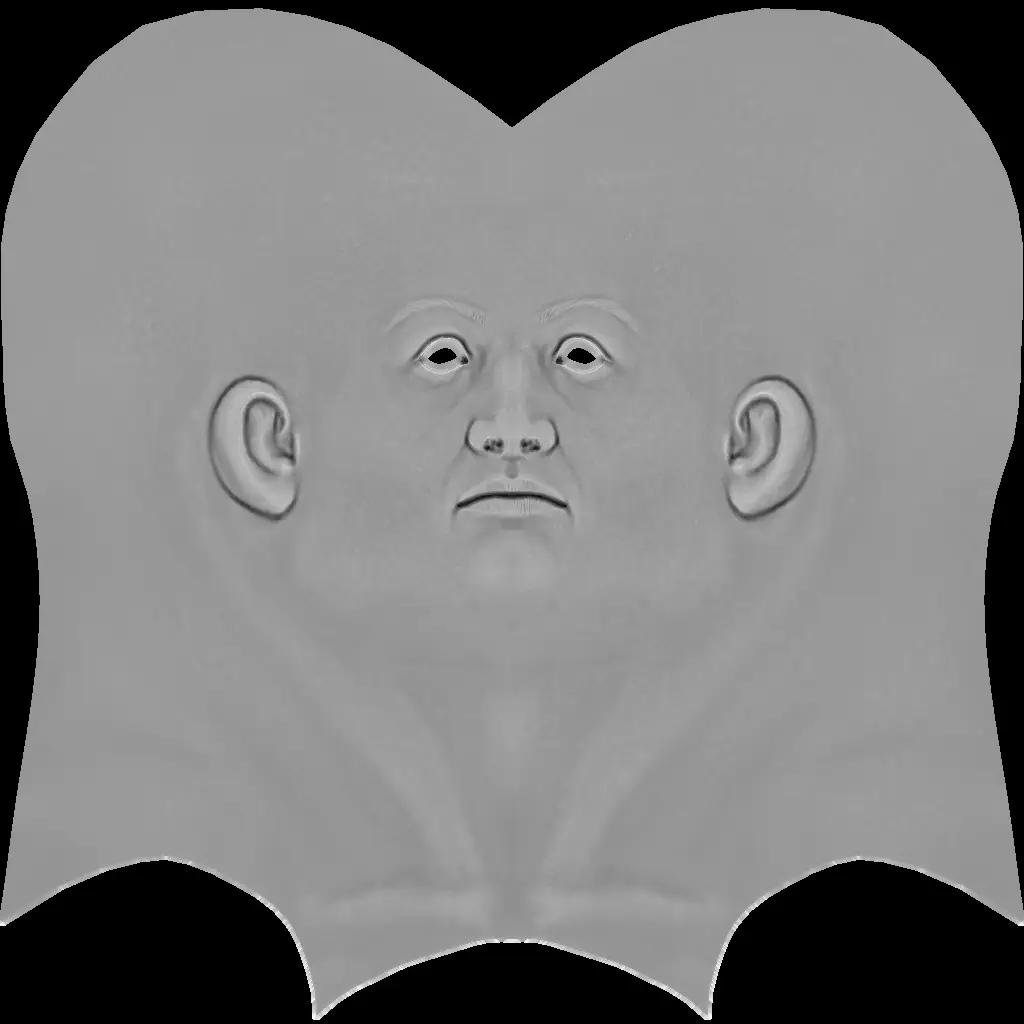
You can choose what kind of curvature details to capture in the baked map. You can choose between Ridges (convex details), Valleys (concave details), or Combined, which is a combination of both.
The Mesh k Triangles value specifies the number of triangles the proxy mesh should have, multiplied by 1000. The higher this value, the more detailed the curvature map gets. In order to have large, air brushed like details, choose a lower value.
The Radius and Smooth Steps parameters also control the sharpness and the details size in the baked map. Higher values lead to blurred, larger details.
Transmission
Transmission maps can be used in complex shaders, where the surface depth is needed for various effects, such as subsurface scattering. Each texel indicates the amount of potential scattered light that would reach the surface after travelling through the reference mesh. TopoGun uses an algorithm similar to the one used by the software ambient occlusion baking, except that the directions it shoots the rays looking for intersections are reversed.
In order to bake a transmission map, enable the Generate checkbox found in the Transmission options group.
The Samples parameter defines the number of rays that will be shot from each surface point. Set the number of samples to a higher value, so the baked map will be less noisy.
The Spread parameter defines the solid angle value the rays will be shot within. A value of 180 means the rays will be shot in random directions within a hemisphere.
The Search Dist controls the length of each ray. A value of 0 makes the ray's length infinite. Any other value sets the ray length to a finite value. If an intersection occurs beyond the given length, the intersection will be discarded and the ray will be considered as if it missed any piece of geometry and will not occlude the surface point for the given ray.
Tweak the Spread and Search Dist parameters to get different results, to resemble the reference mesh transmission properties.


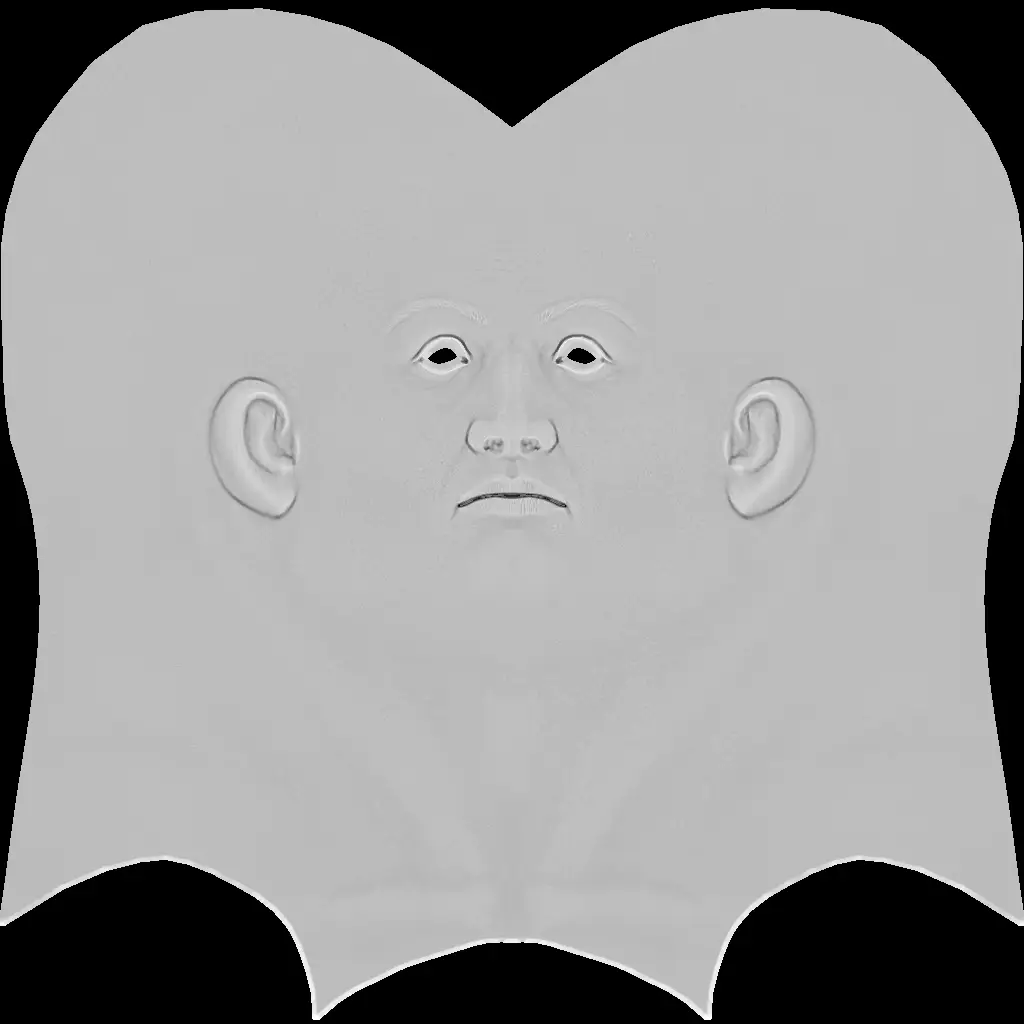
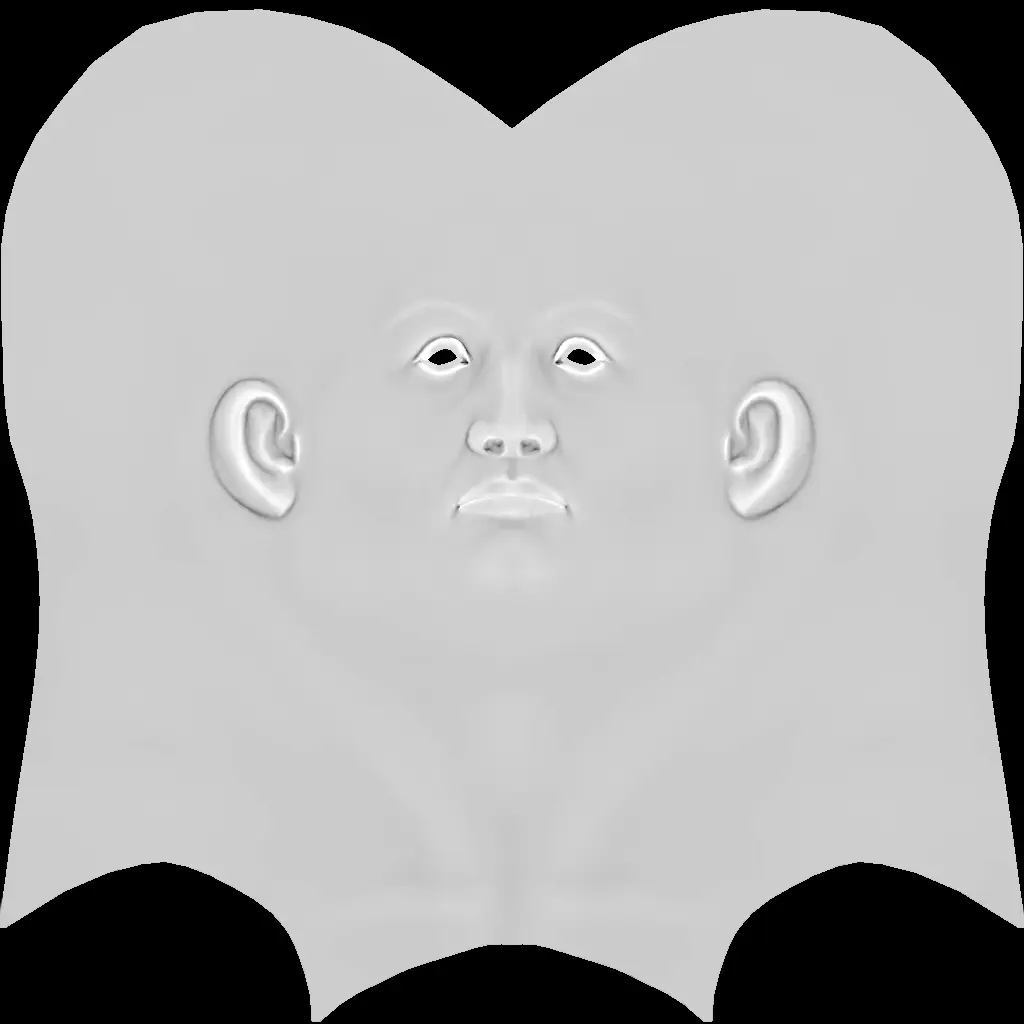
Cavity
Cavity maps can be used to enhance the very fine details on the final texture. They're usually applied as a multiplied or overlayed layer over the final color map, in order to bring up very fine details, such as skin pores, fabric patterns, hair.
The cavity data is obtained via a local ambient occlusion algorithm.
In order to bake a cavity map, enable the Generate checkbox found in the Cavity options group.
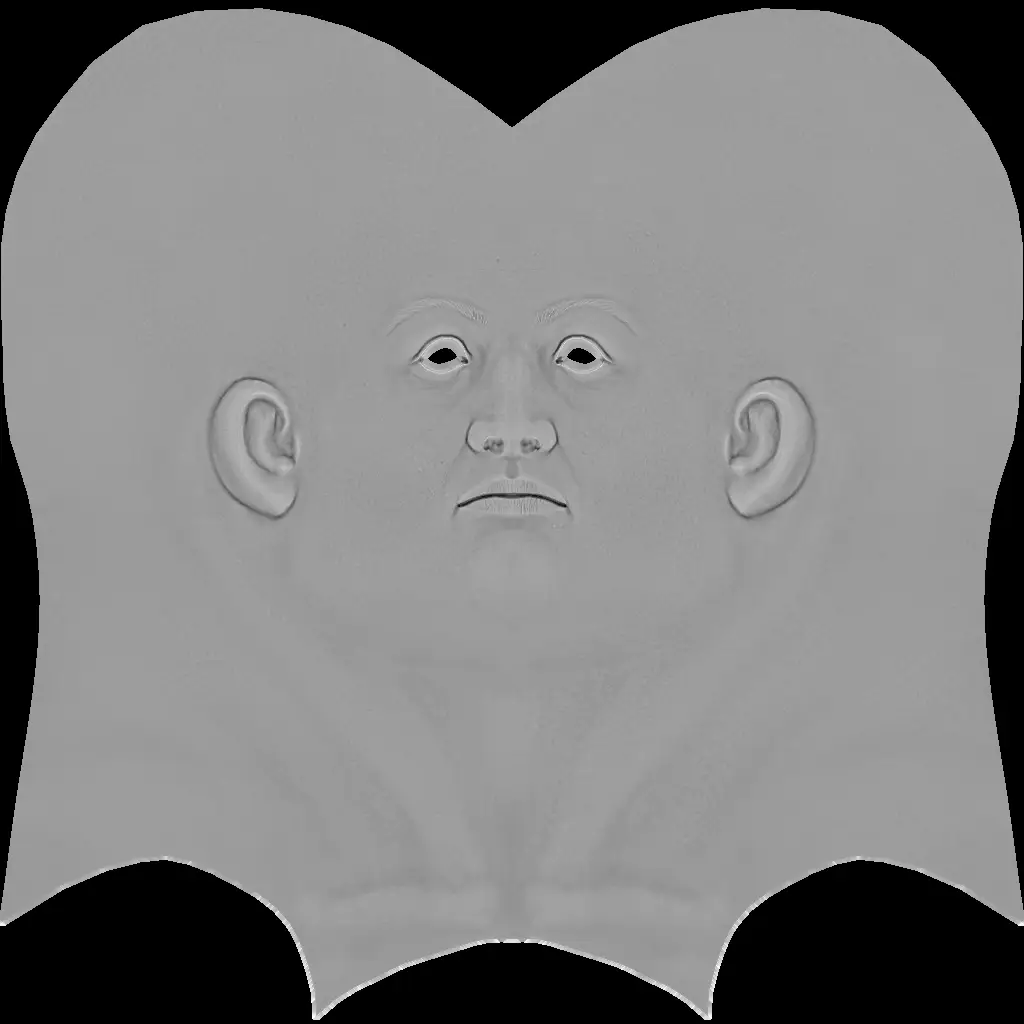
The Samples parameter defines the number of rays that will be shot from each surface point. Set the number of samples to a higher value, so the baked map will be less noisy.
The Offset parameter sets the distance from the reference mesh surface the rays are shot from. Smaller values lead to finer details, down to the pore level, while higher values tend to blend the details, creating a more uniform map.
The Radius parameter sets the maximum radius (in TopoGun milliunits) the intersections can take place. Use smaller values to get more localized, finer details.