Remesh
Introduction
Remesh is a feature used to automatically create uniform and curvature aligned meshes.
The resulting meshes are best used as static assets that need to have uniformly distributed vertices.
Using Remesh
First, select the reference mesh and open the Reference dropdown panel in the Inspector View.
Notice that this reference mesh has a high triangle count and is not suitable for production use.
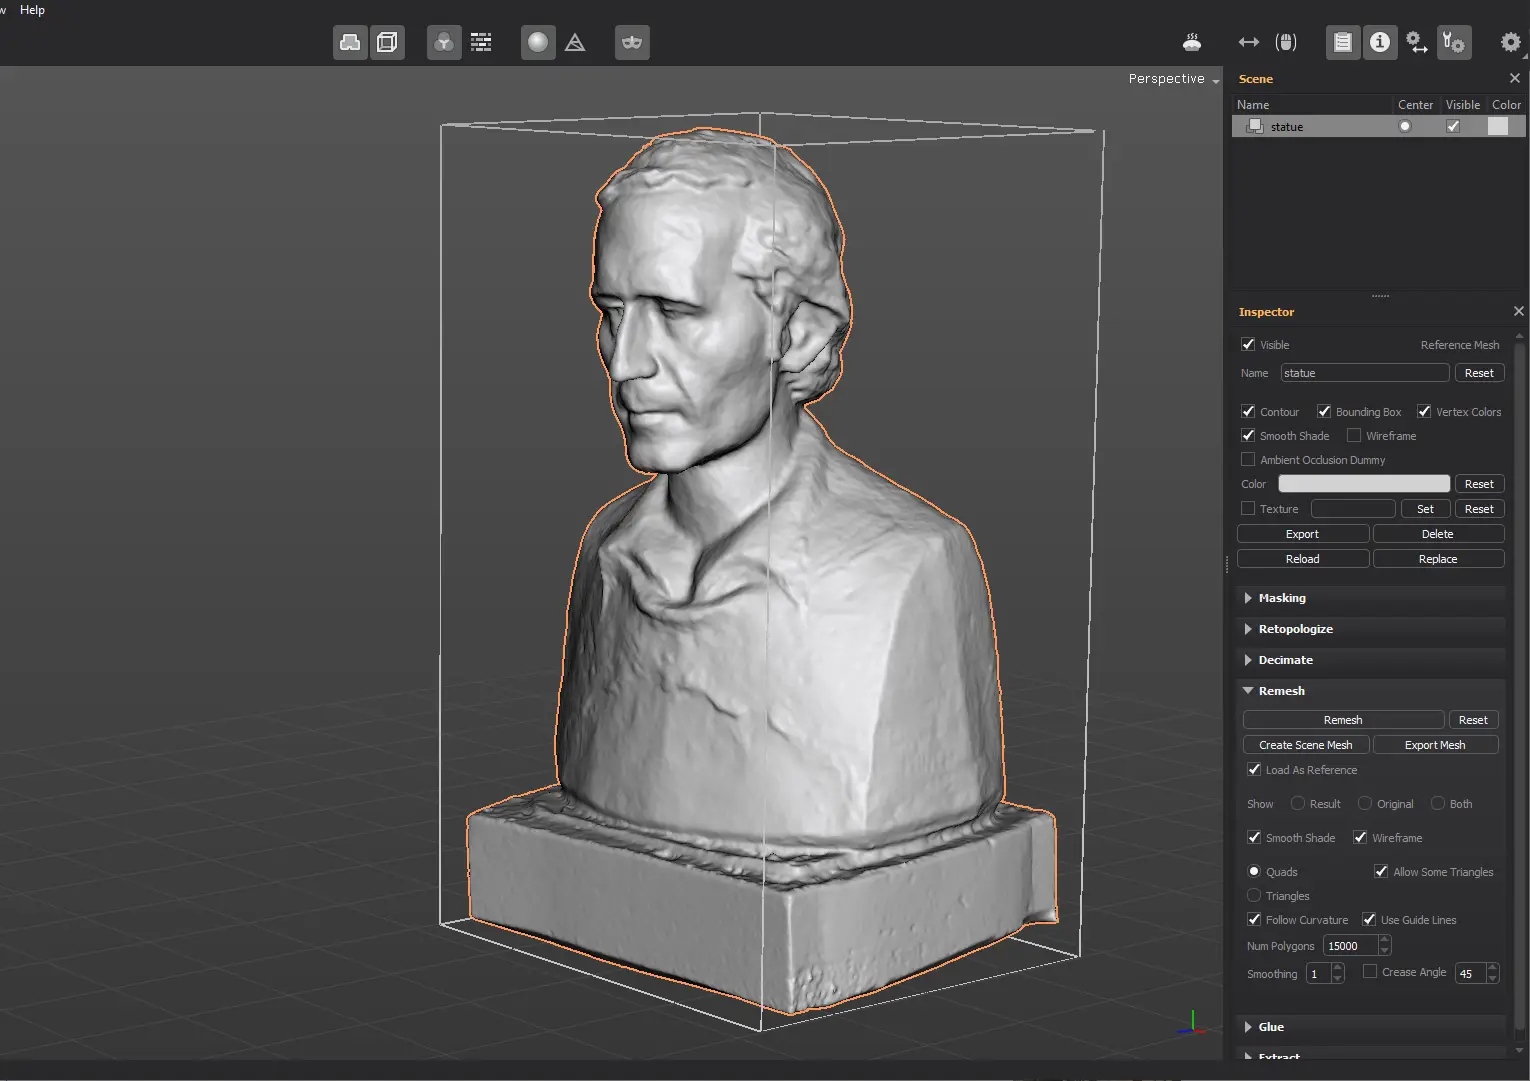
Set the number of polygons and click on Remesh.
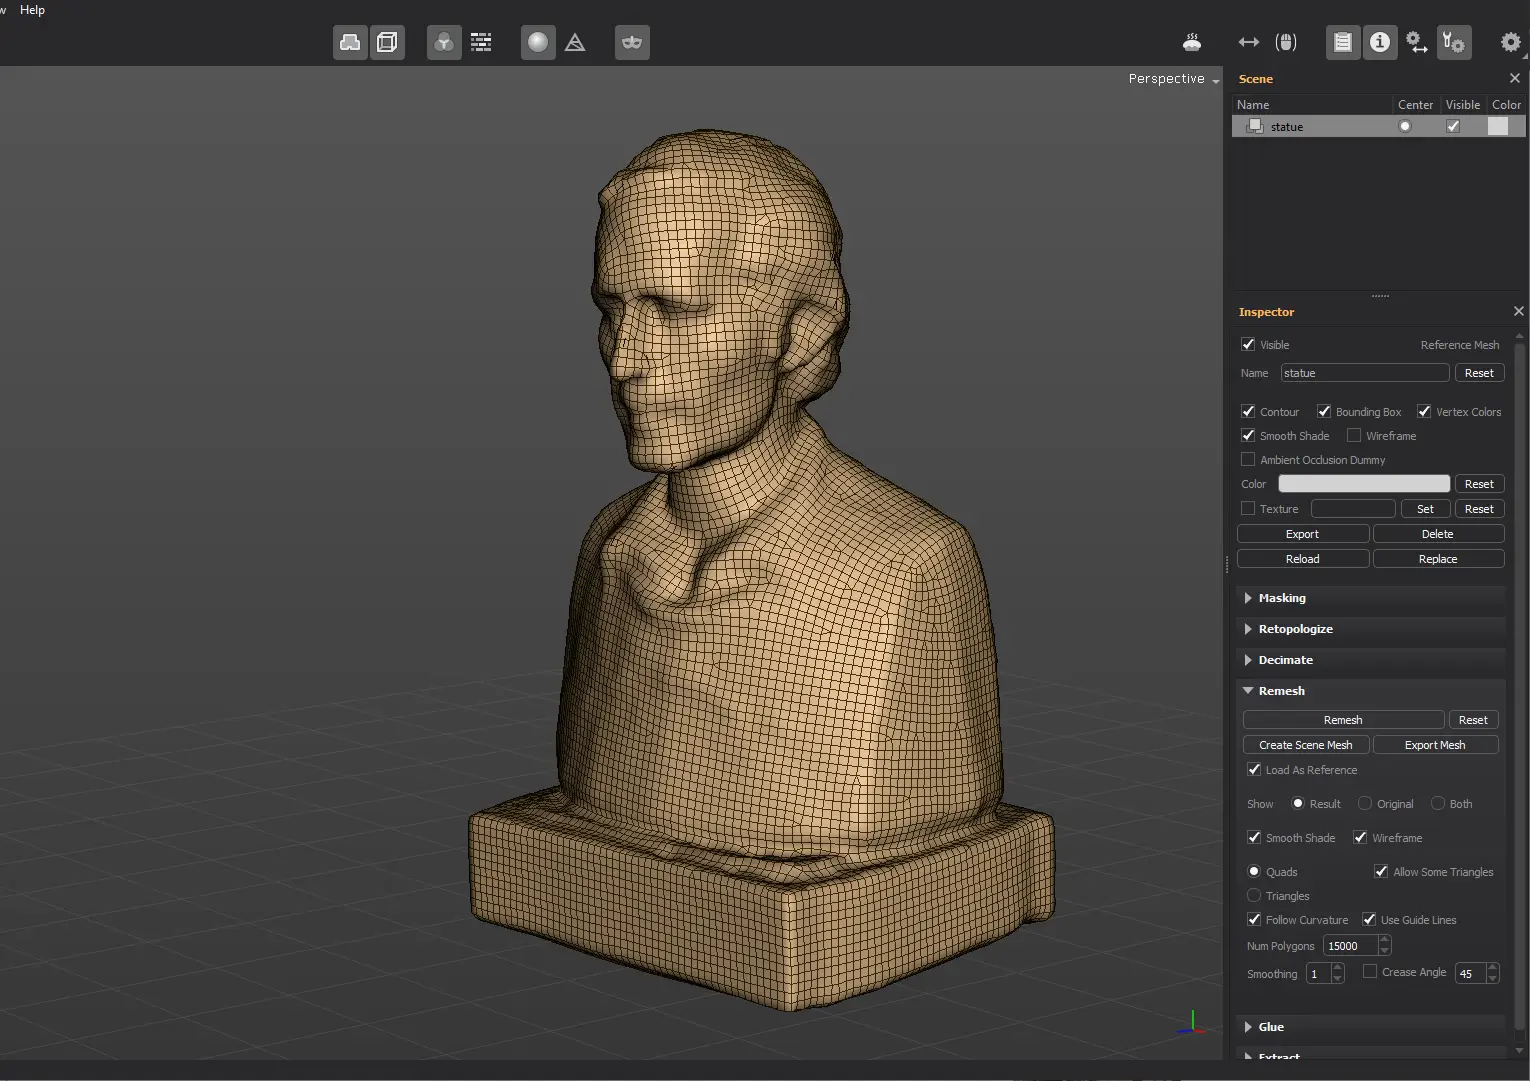
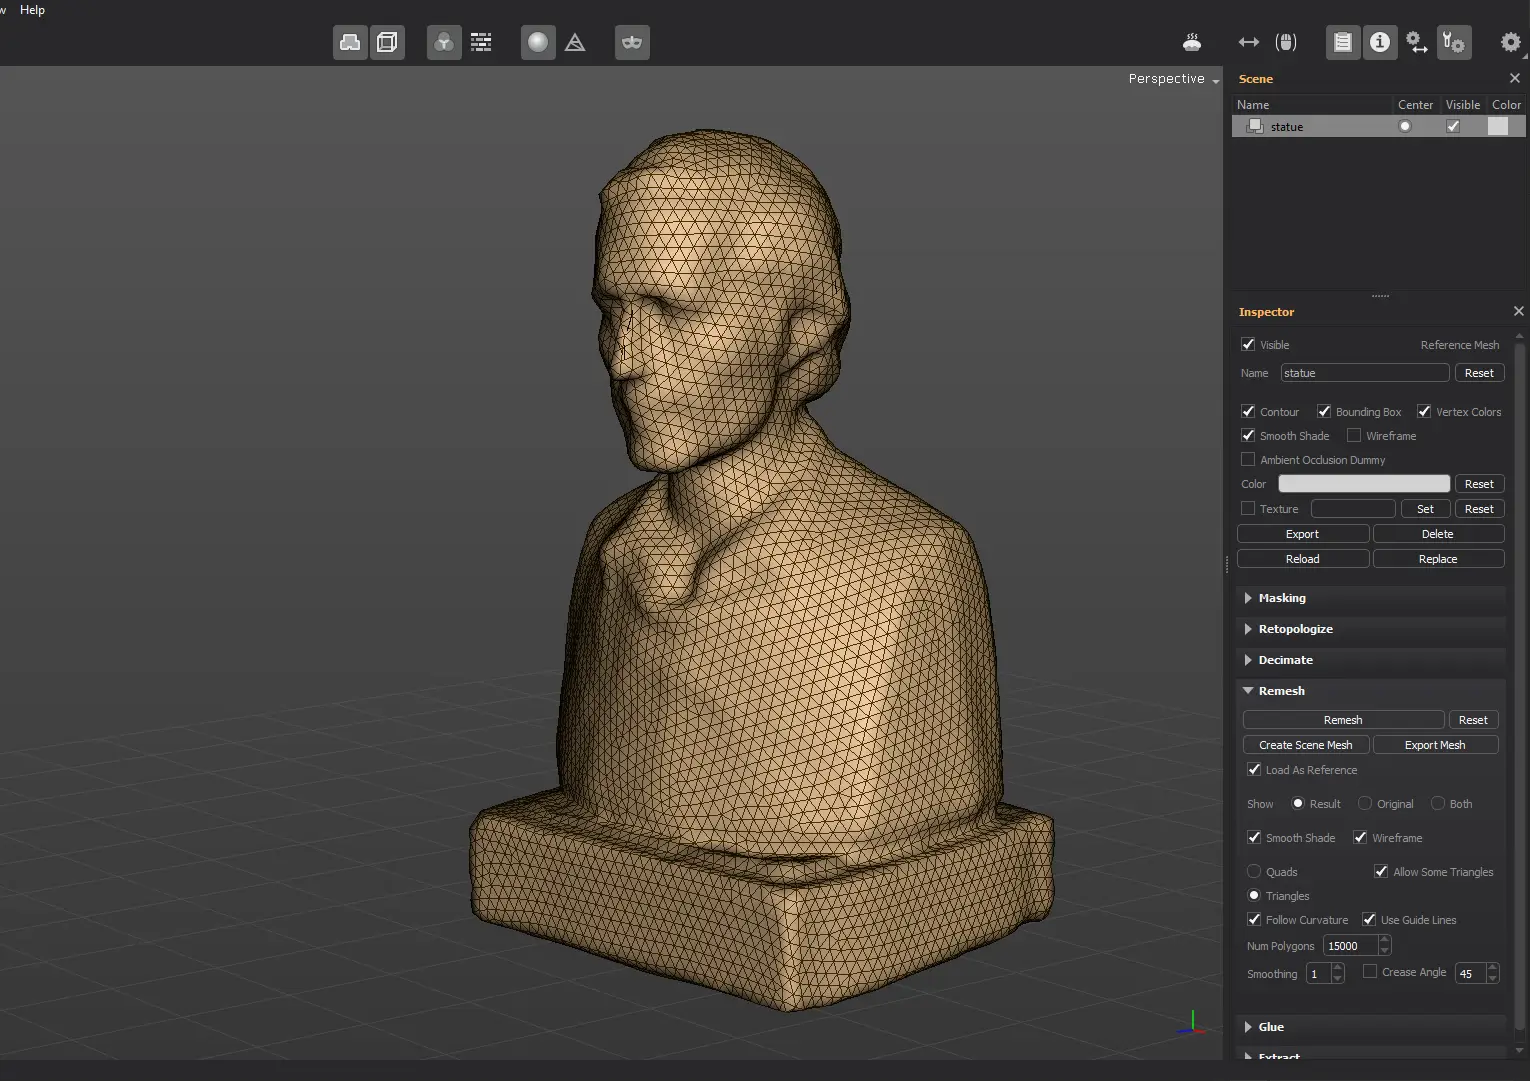
By default, the resulting mesh contains mostly quads and some triangles. Enable the Triangles mode to generate a mesh made of triangles only.
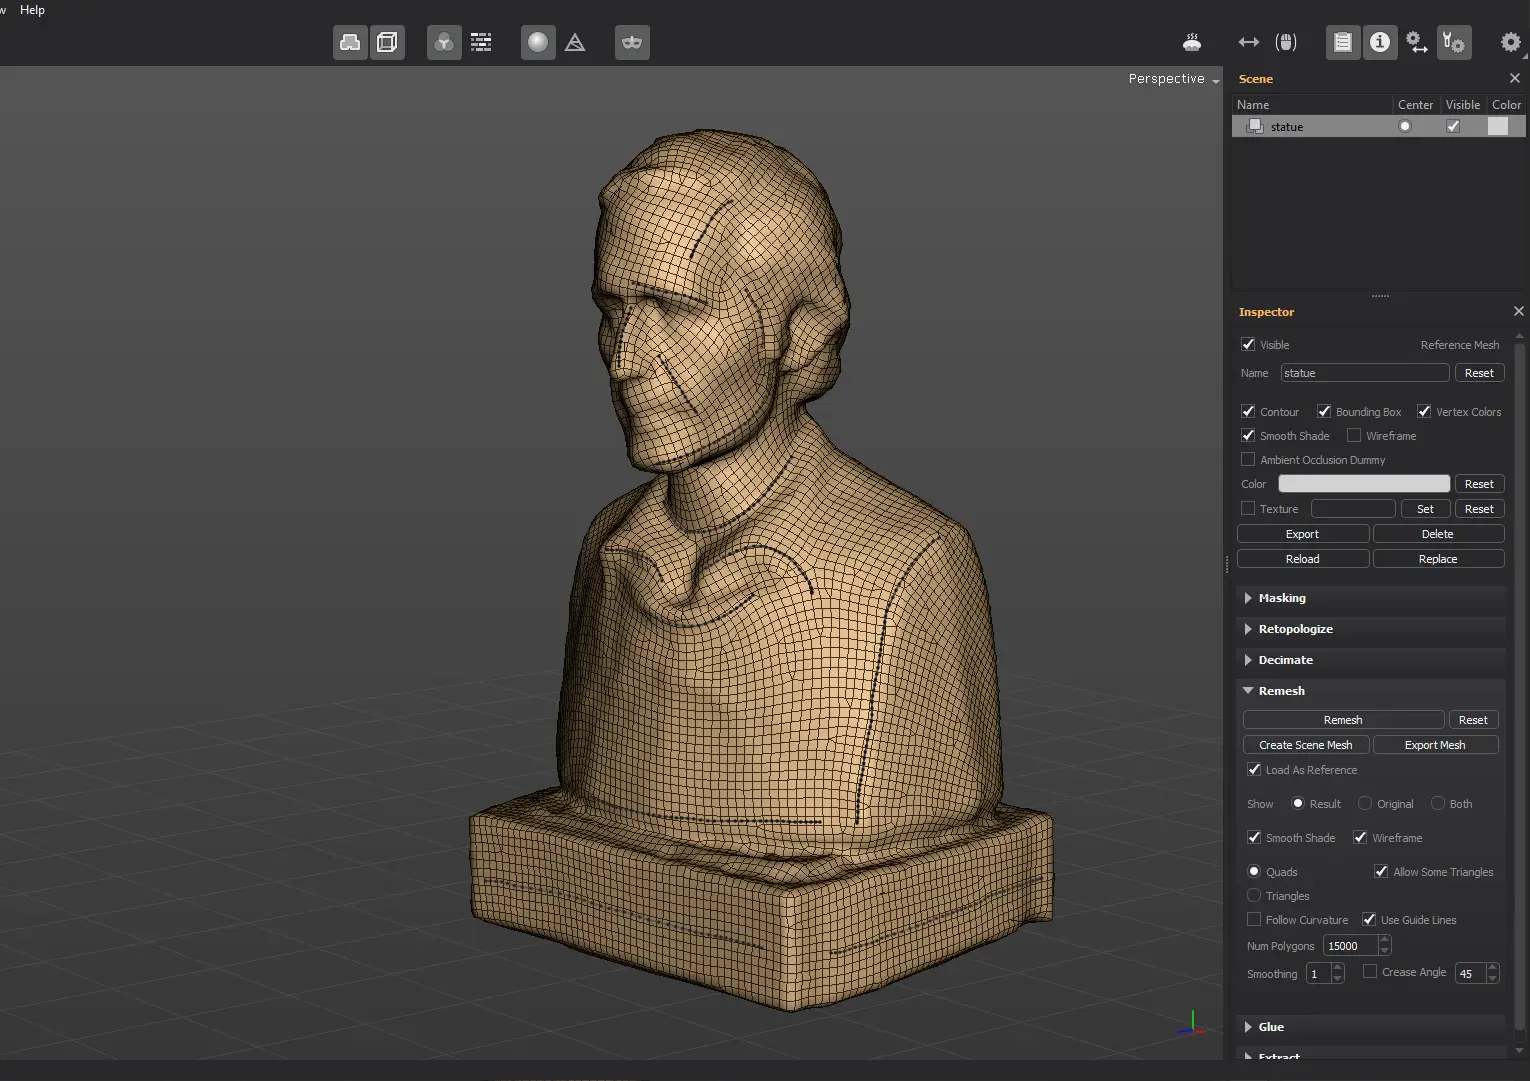
The mesh edge flow is derived from the curvature and by the guide lines drawn with the Guide Lines tool. If you disable both the Follow Curvature and the Use Guide Lines options, you'll notice that the resulting mesh won't be aligned with the reference mesh features.
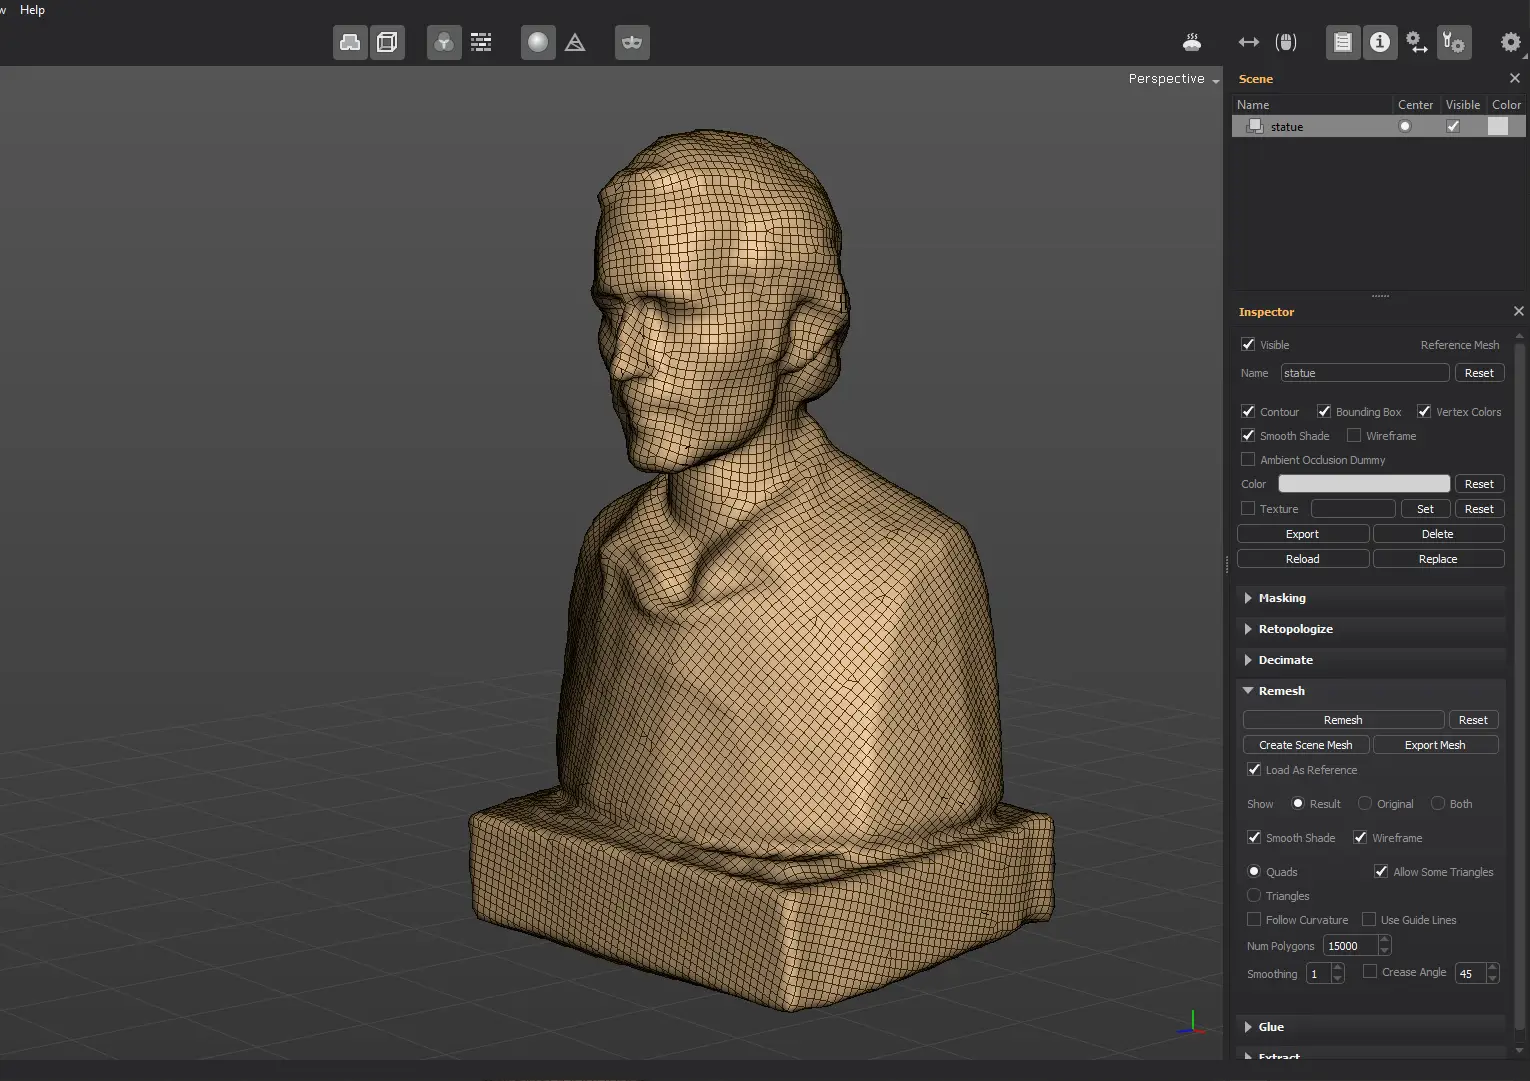
Enable the Follow Curvature option to have the edge flow aligned to the reference mesh features.
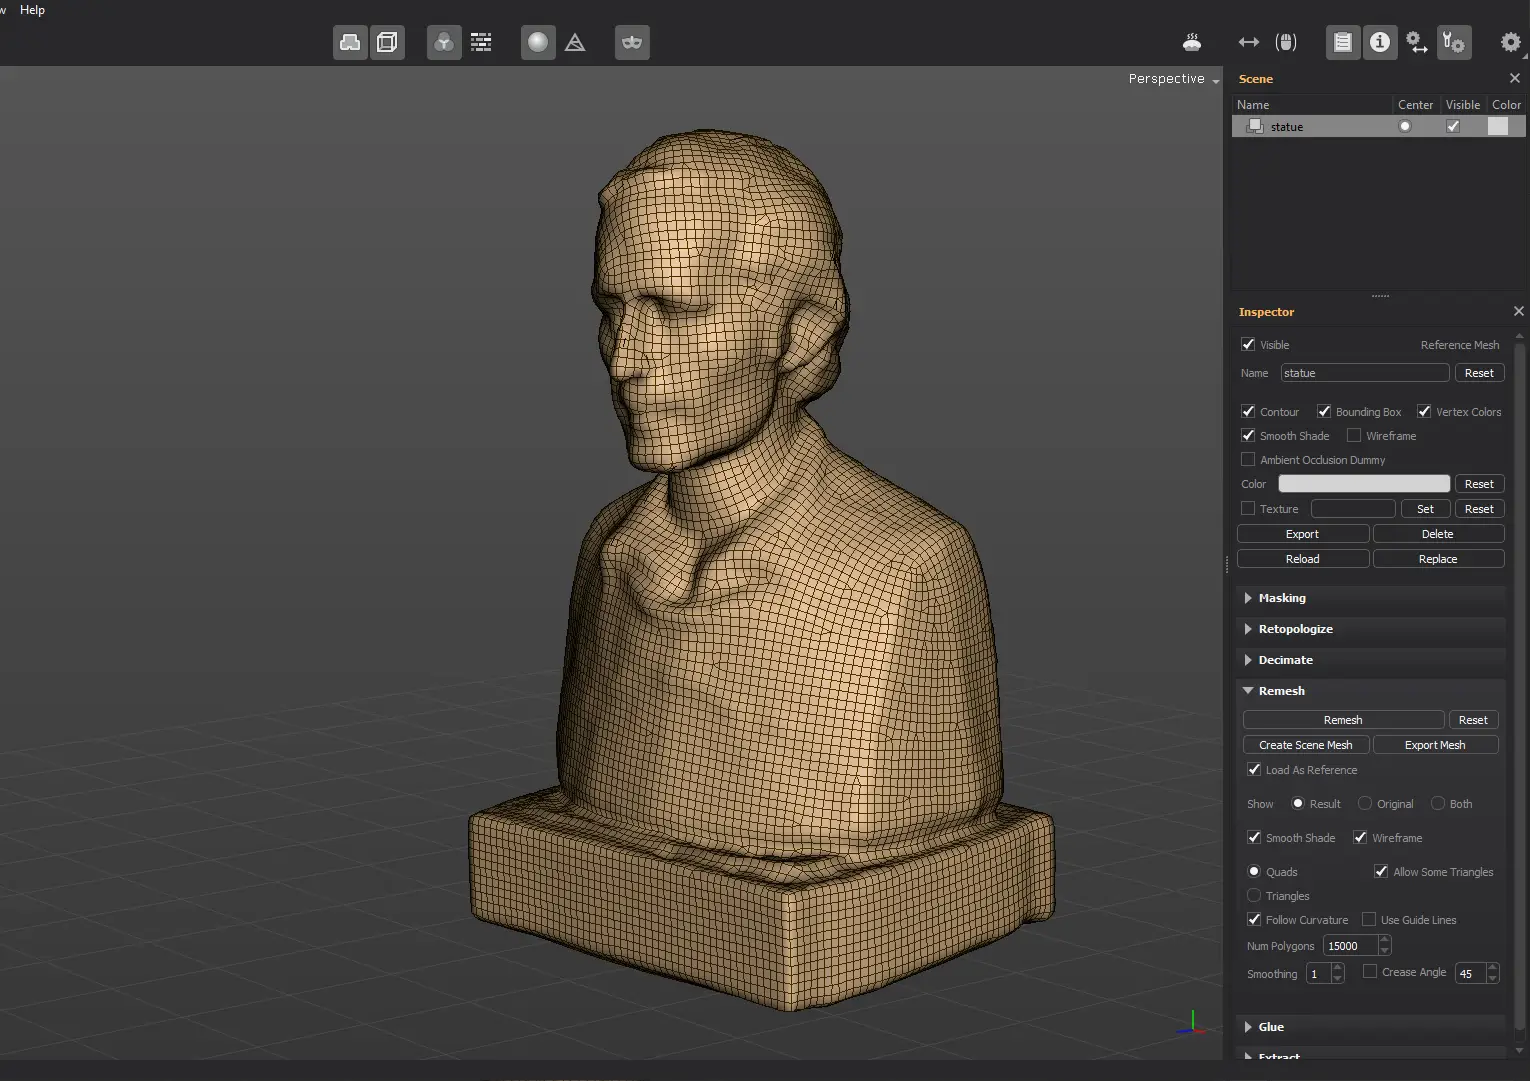
In case you want to control the directions yourself, create the strokes with the Guide Lines tool, and then enable the Use Guide Lines option.
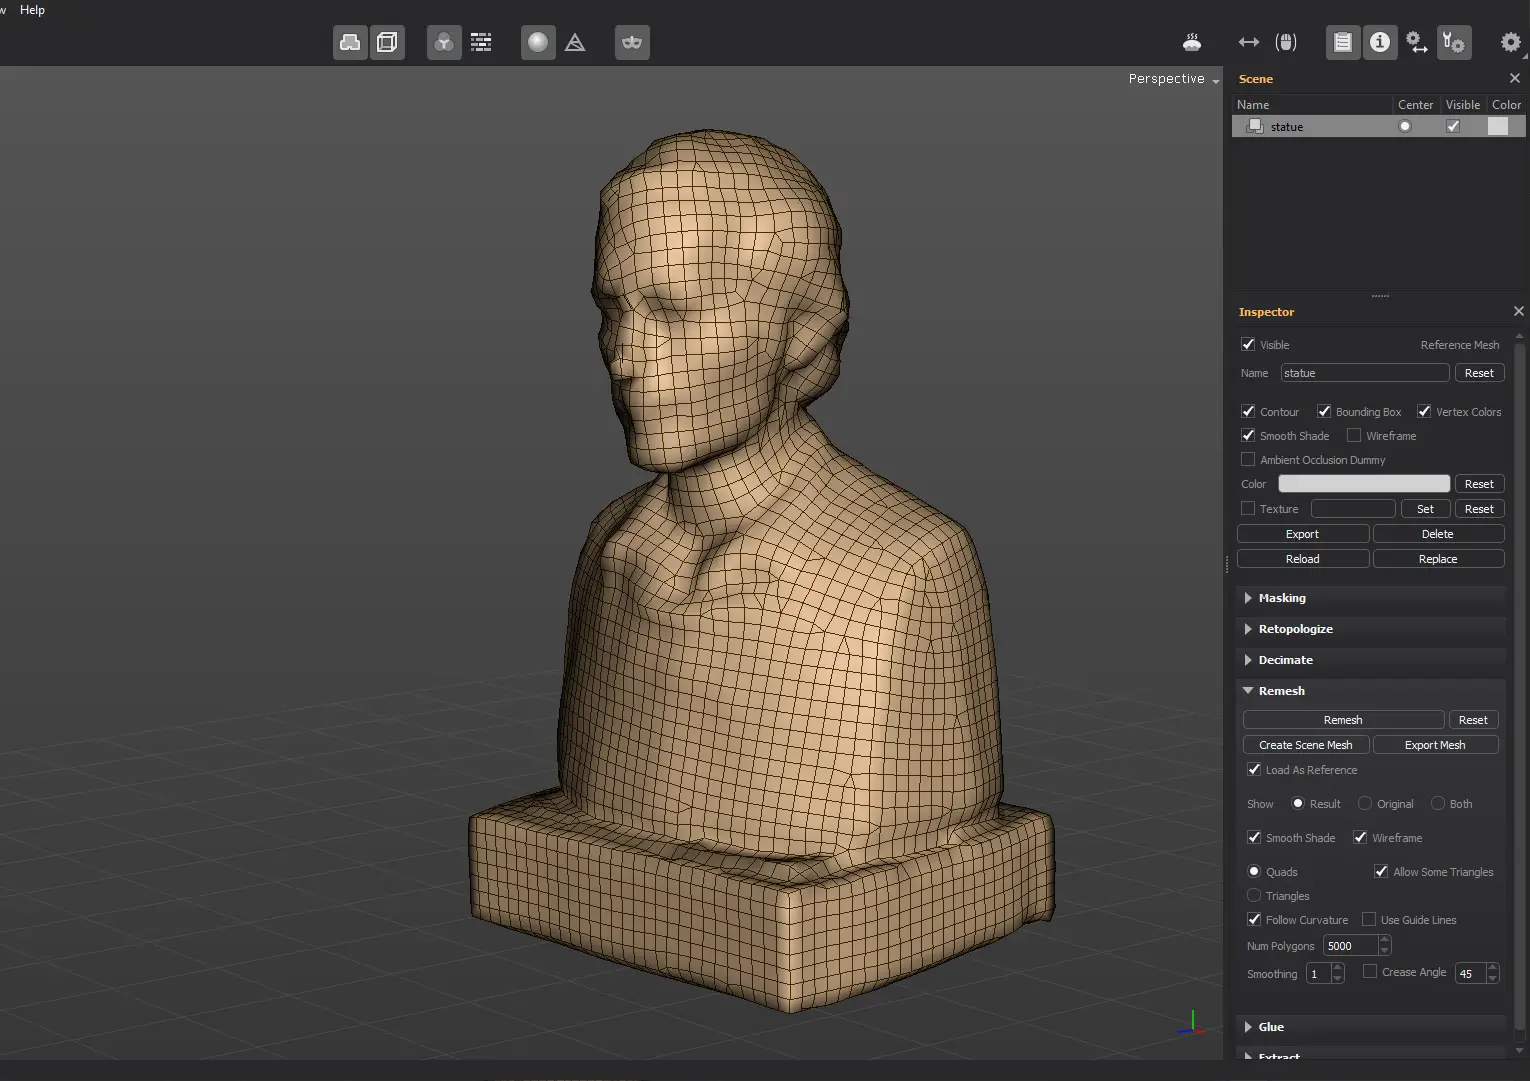
By default, Quads and Allow Some Triangles options are enabled. The mesh will have mostly quads and triangles in areas where the size needs to be uniform.
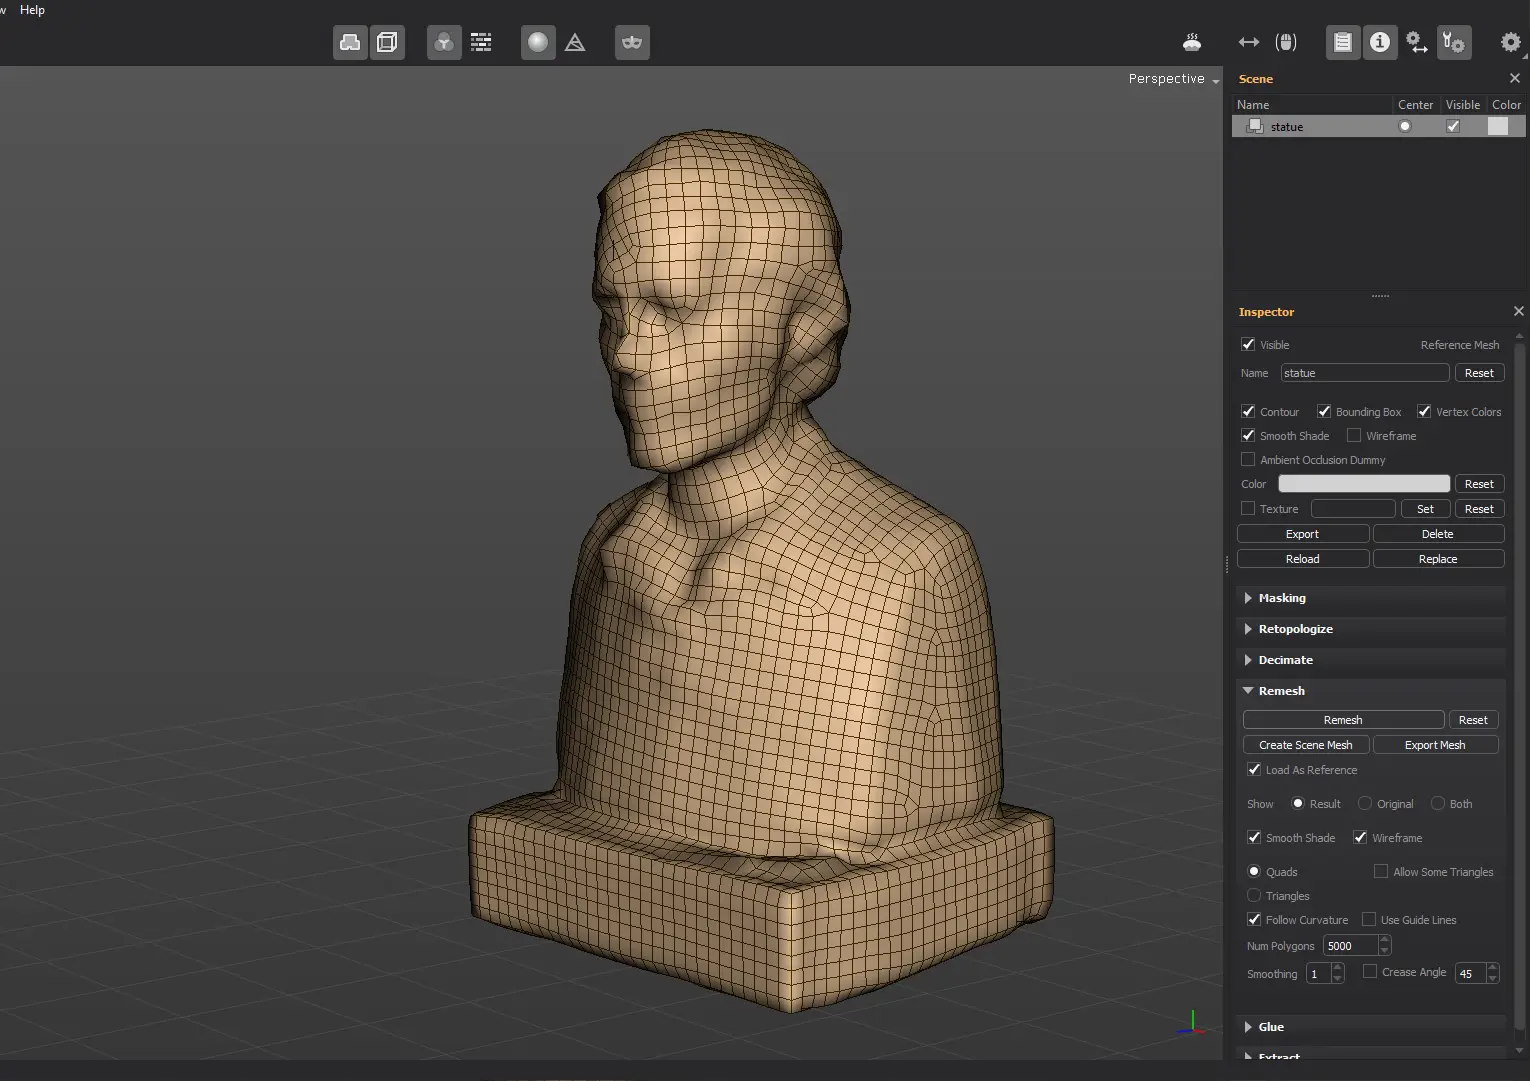
If you disable the Allow Some Triangles option, the mesh will consist of quads only.
Once the result is fine, click the Export Mesh button to have the mesh exported as a file. Enable the Load As Reference option, in case you want to have the exported mesh imported as a new reference mesh.
If you want to create a scene mesh from the decimated mesh, click on Create Scene Mesh. Use this feature with caution, as the scene meshes should generally have a low polycount.